Components
- Cardboard;
- Pencil;
- Ruler;
- Scissors;
- Glue;
- Adhesive tape (colored paper);
- Stapler;
- Markers;
- Black helium pen (liner);
- Colored paper;
- White paper;
- Velcro;
- E600 glue (hot glue).

Preparation:
1. Prepare cardboard 14 * 12 cm.

2. And colored paper 16 * 13 cm.

3. Glue the cardboard onto colored paper.

4. Cut off the corners.

5. Fold the loose edges of colored paper and fix it with glue.

6. Fold the blank in half.

7. Round the edges.

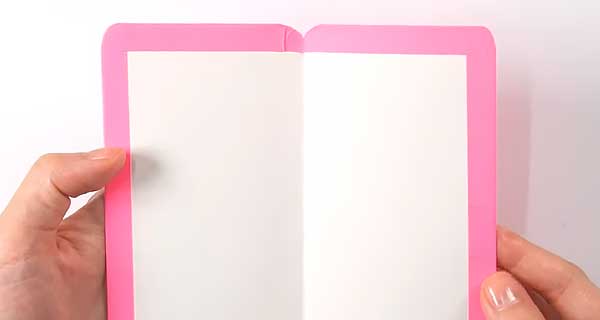
8. Draw a line separating the refrigerator and freezer.
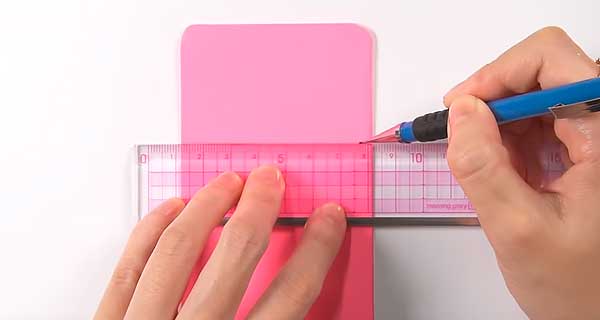
9. Cut along the line.
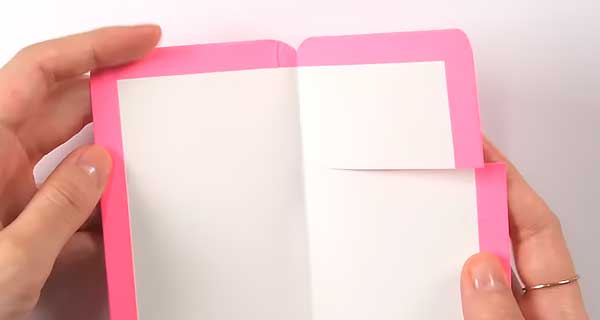
10. Draw a line inside the refrigerator.
11. Stick the Velcro on strong glue to close the refrigerator.
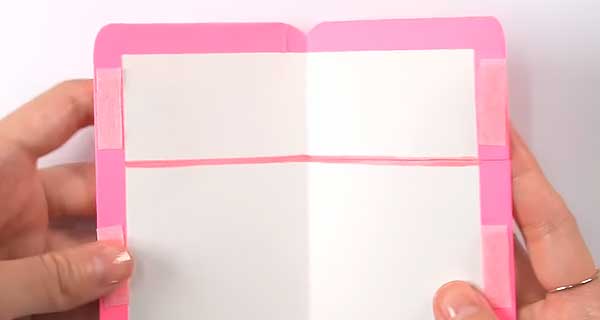
12. Draw the handles separately.

13. Cut out and glue them to the refrigerator door.
14. Glue a white strip on the top of the refrigerator door.

Let’s fill the refrigerator with food in the form of mini-notebooks.
15. Draw fruit on a 5 * 3 cm sheet.

16. Vegetables 5 * 3 cm.

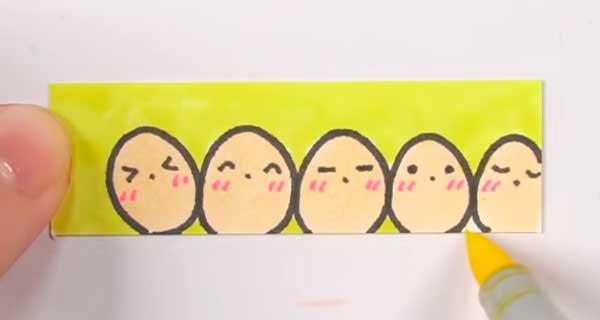
17. Eggs 5 * 1.5 cm.
18. Ice 4 * 2.5 cm.
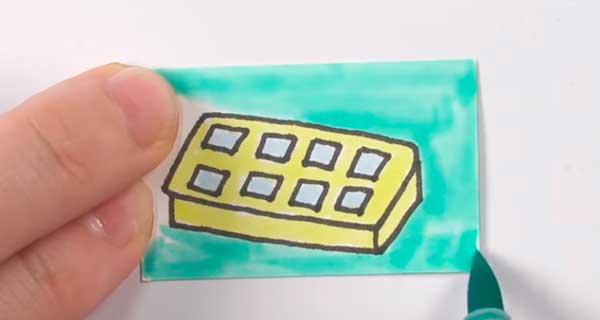
19. Milk box 2 * 2.5 cm.

20. Bread 2 * 2.5 cm.
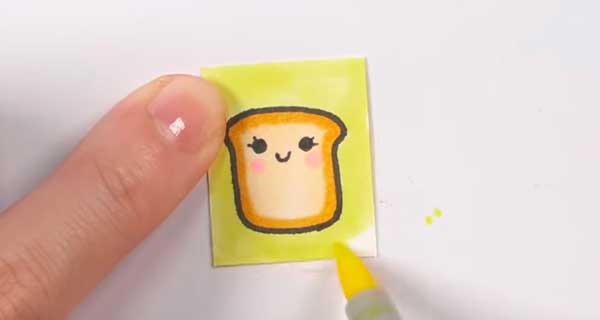
21. Ice cream 1.5 * 2.5 cm.

22. Prepare sheets of paper for each notebook. We used 7 sheets so we could stapled together.

23. Staple the cover and sheets together.

24. Cover the spine with a strip of tape or paper to hide the staples.
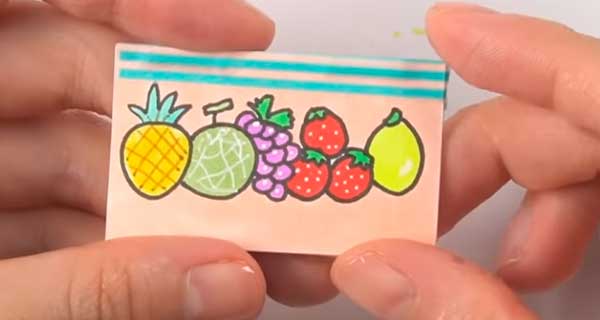
25. Do this for all notebooks.

26. Use glue or double-sided tape to glue the food notebooks to the refrigerator. Done!


