Components
- Cardboard;
- White paper;
- Colored paper;
- Pencil;
- Ruler;
- Stapler;
- Scissors;
- Markers;
- Black helium pen (liner);
- Stickers;
- Duct tape;
- Glue.
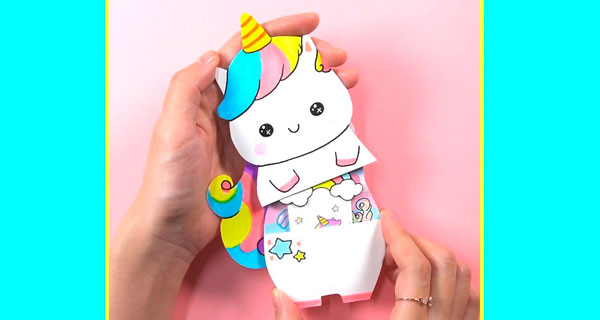
Preparation:
1. Draw the body of the unicorn on a piece of cardboard.
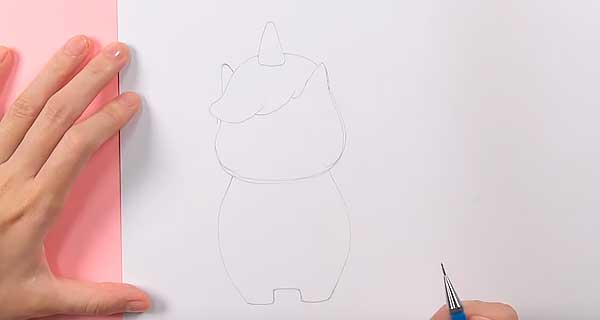
2. Cut it out.
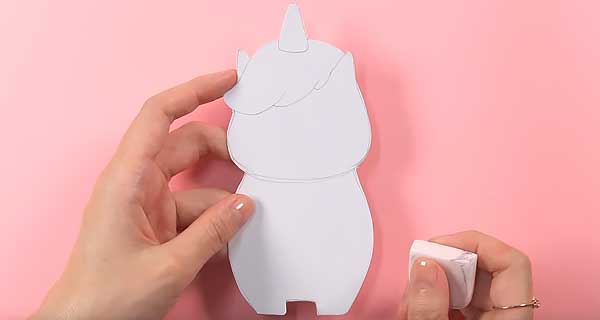
3. Erase the pencil lines with an eraser.
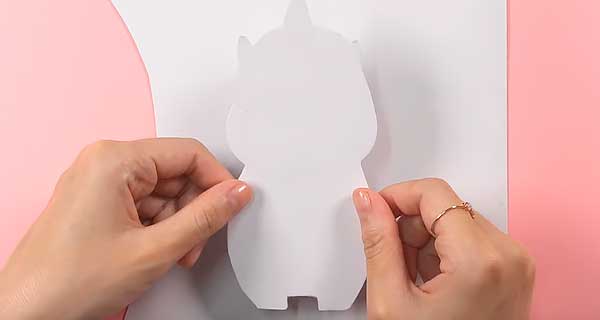
4. Trace the blank on a piece of cardboard.
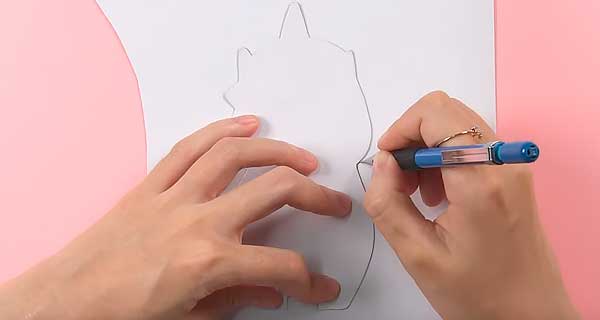
5. Cut it out. You now have two cardboard unicorn blanks.
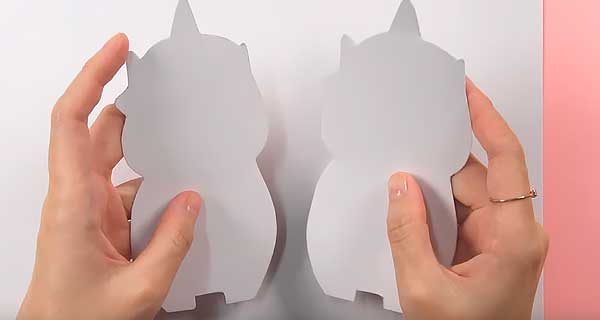
6. Draw a horizontal line on one of the blanks.
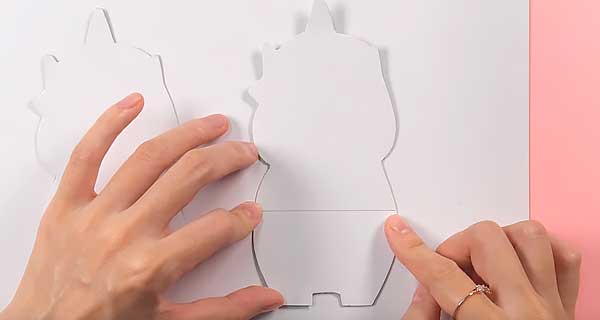
7. Cut the part in two along this line.
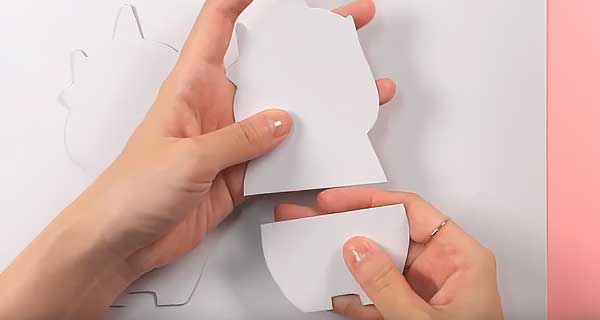
8. Trace the top half of the detail on cardboard and cut it out.
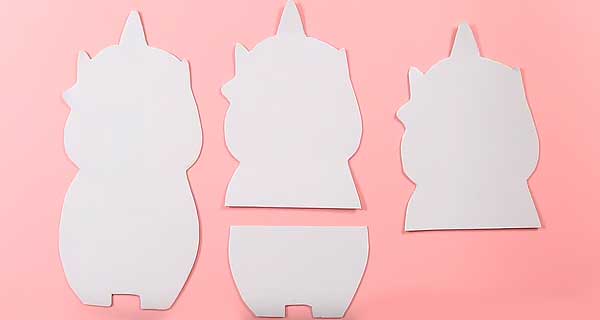
9. Then trace the halves of the pieces on white paper and cut them out.
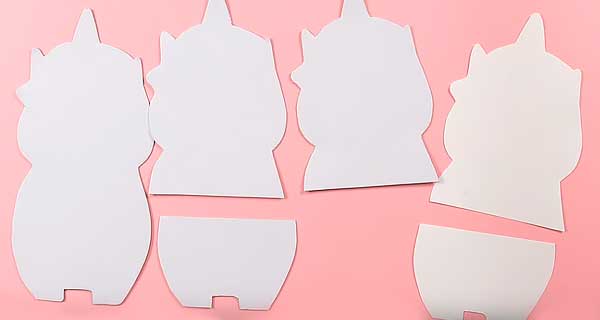
10. Draw an oval on the detail with a pencil.
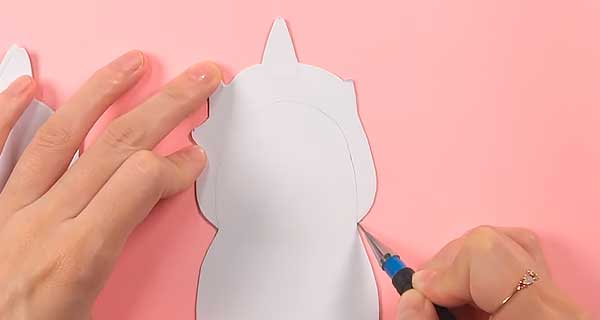
11. And cut it out.
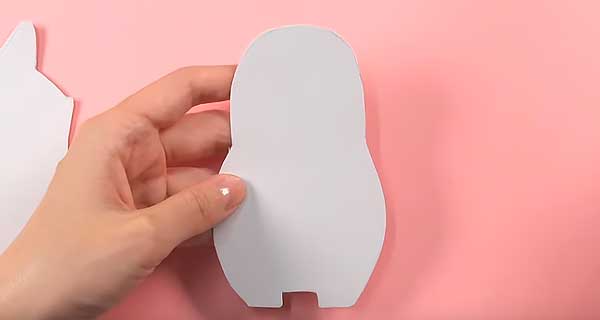
12. Trace and cut out a blank of colored paper.
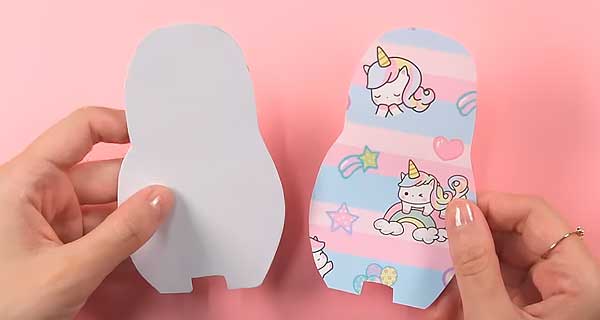
13. Glue them together.
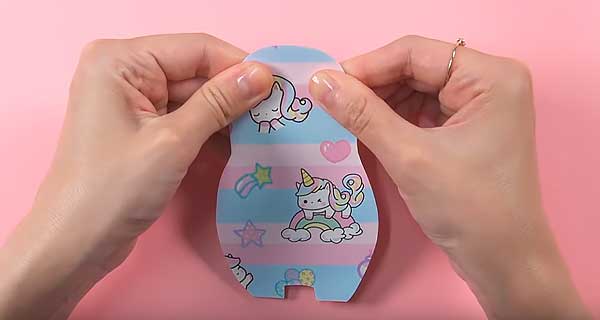
14. Glue the bottom half of the detail with tape. Do not glue the top, leave a pocket.
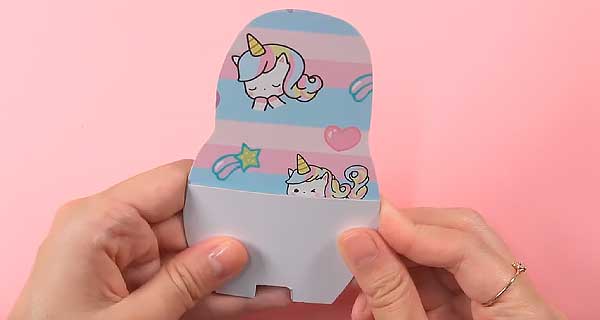
15. Glue the two upper halves of the detail together with tape.
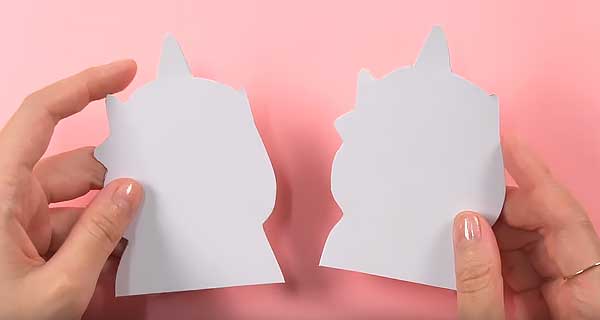
Do not glue the bottom part, forming a cap.
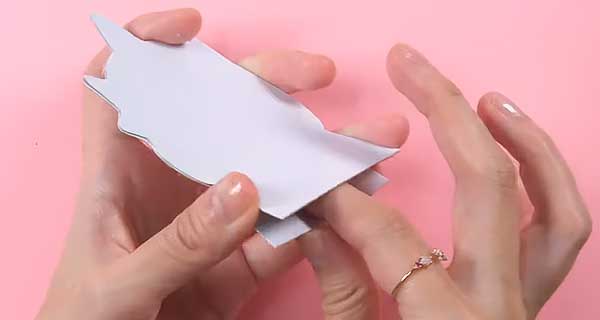
16. Hide the tape strips. Glue the details out of white paper.
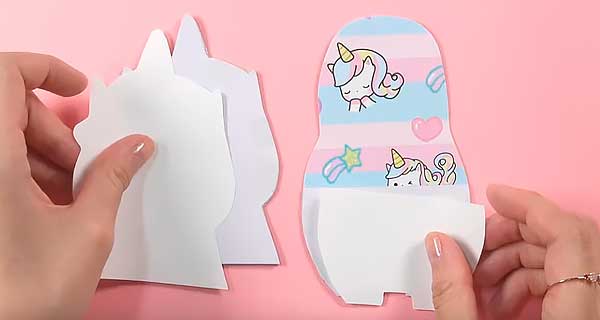
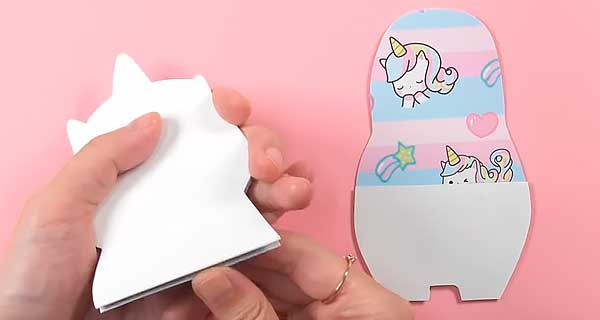
17. Draw and color a unicorn.
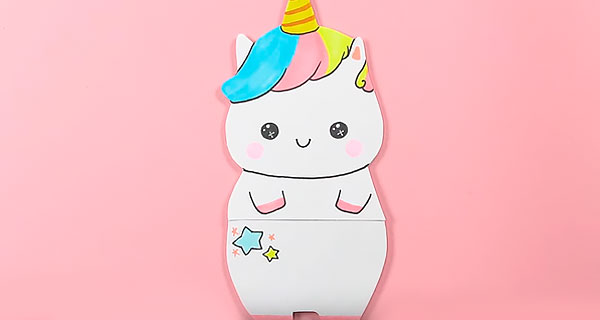
18. Attach the blank to the cardboard and draw the unicorn’s tail.
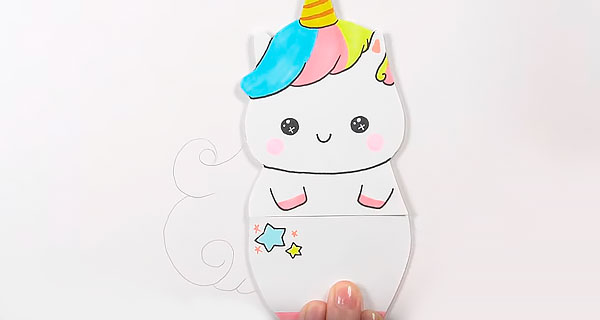
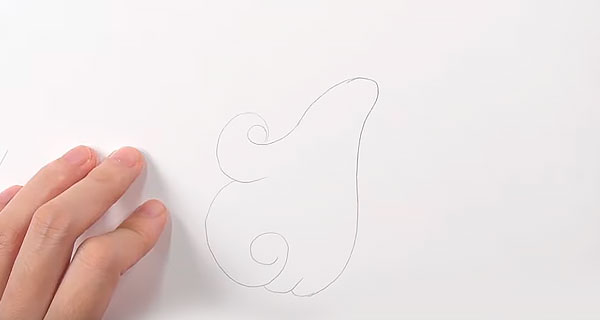
19. Remove the blank and draw the tail.
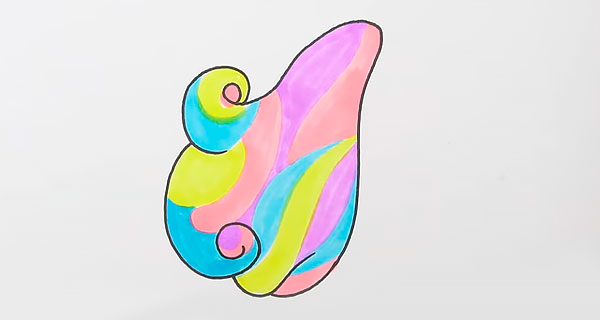
20. Color it.
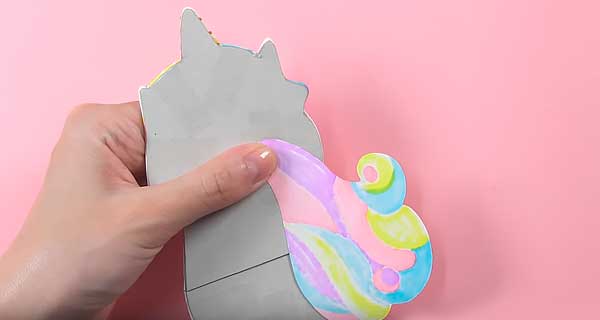
21. Glue the tail to the back of the blank with tape.
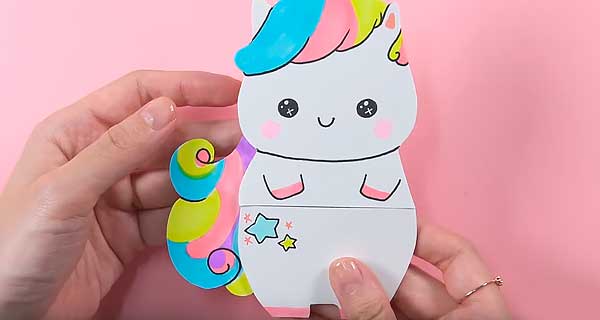
Let’s make a notebook.
22. Trace the blank on a piece of paper, and draw a rectangle inside. These will be the notebook sheets.
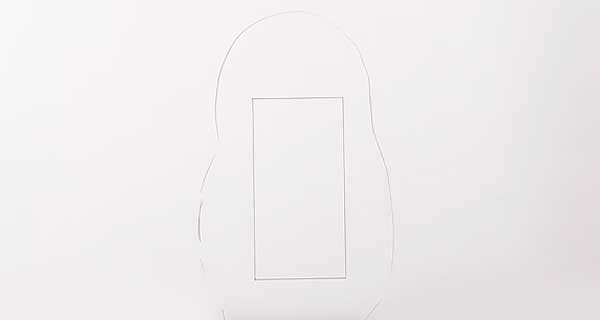
23. Cut it out. Decorate with cute stickers or drawings.
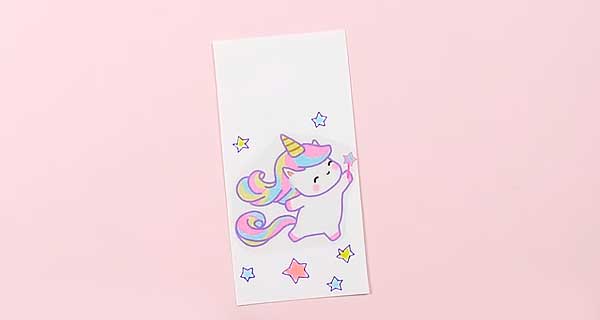
24. Cut out the sheets for notebook.
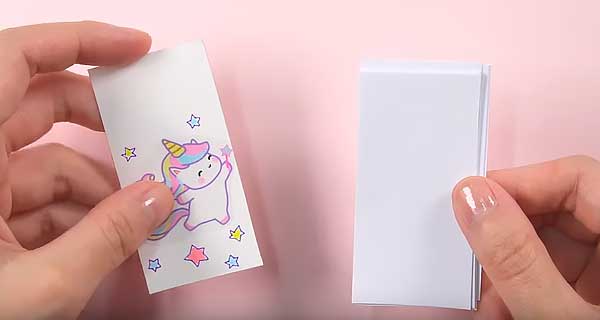
25. Staple together.
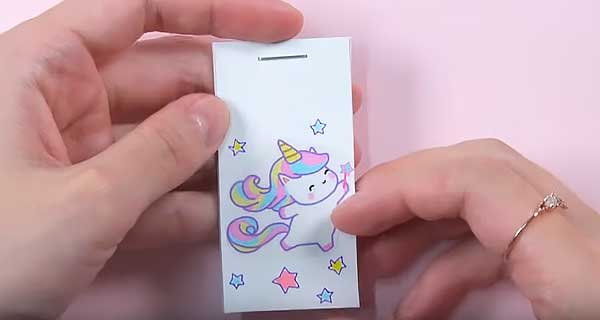
26. Close the staple with a rainbow picture.
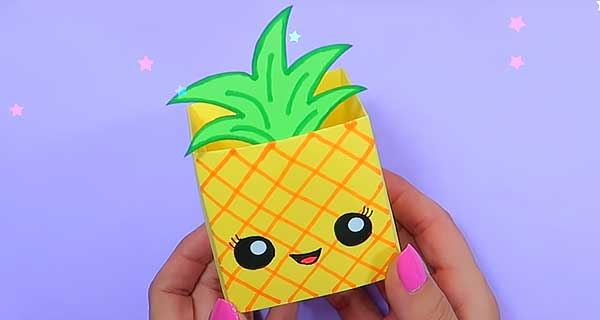
Done! Place the notebook in the pocket and close the top with a cap!
