Components
- Cardboard;
- Pencil;
- Ruler;
- Scissors;
- Glue;
- Duct tape;
- Stapler;
- Markers;
- Black helium pen (liner);
- Colored paper;
- White paper;
- Stickers.
Prepration:
1. Draw an oval on the cardboard and cut it out.
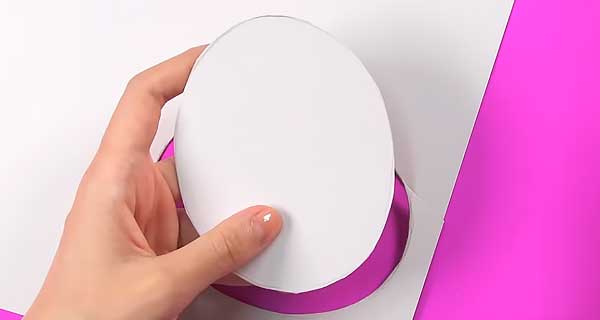
2. Trace it on cardboard and cut it out. You have two identical ovals.
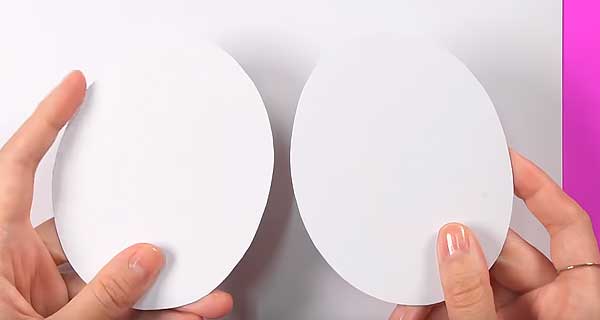
3. Use a ruler to draw a line that divides the oval into two equal parts.
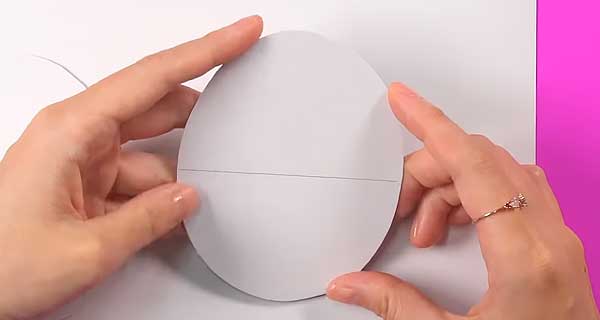
4. Cut along this line.
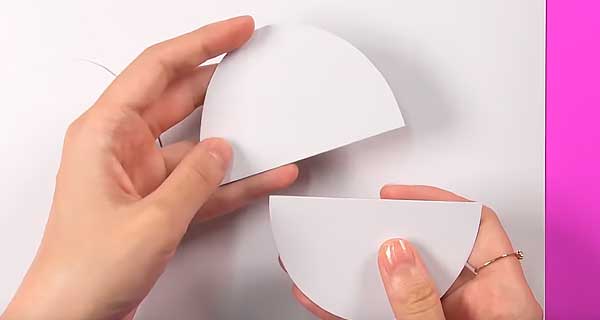
5. Trace the half of the oval on the cardboard and add the ears.
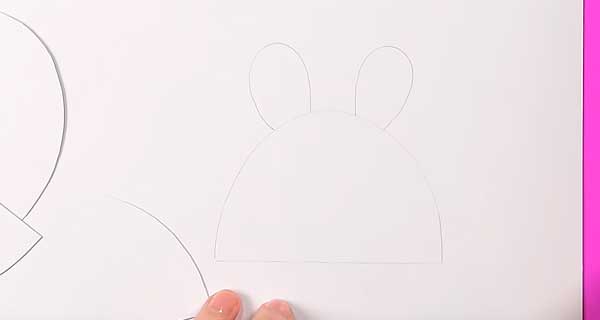
6. Cut the blank out.
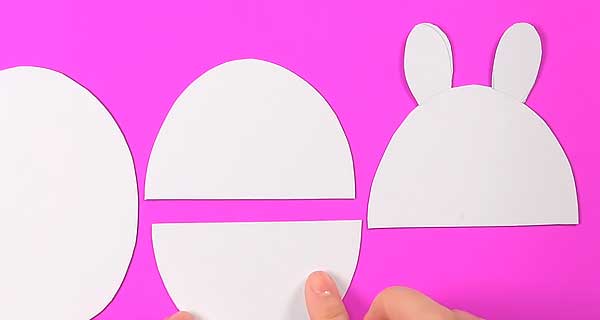
7. Then trace the detail with the ears and half of the oval on the cardboard.
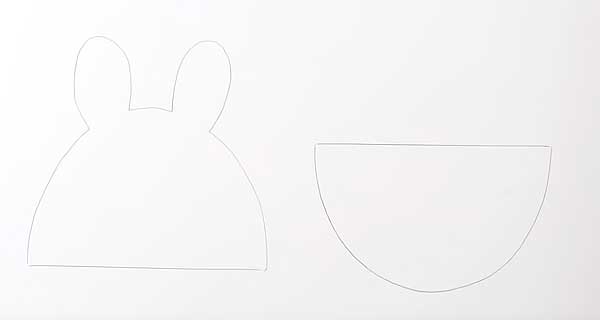
8. Cut the blanks out.
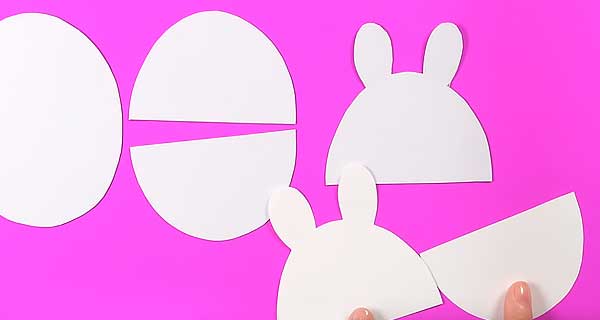
9. Trace the oval on colored paper and cut it out.
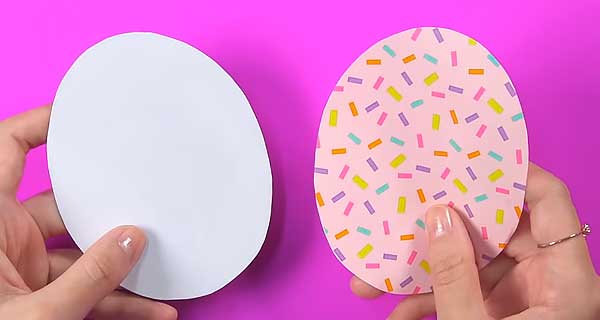
10. Glue the colored paper oval to the cardboard oval.
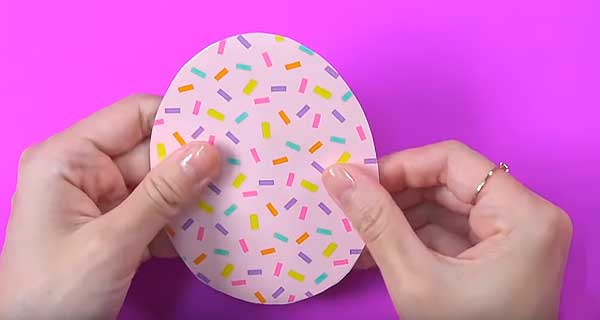
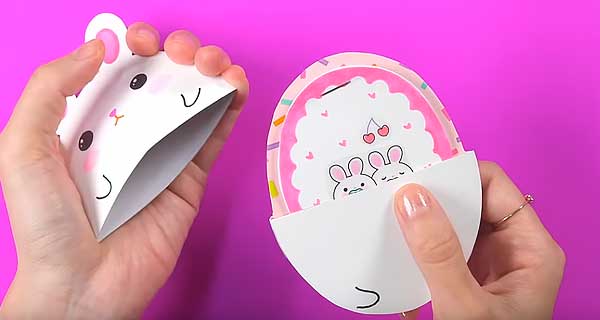
11. Glue the half of the oval to the blank using duct tape as a pocket.

12. Glue two details with ears together with tape. There is no need to glue the details at the bottom. The detail with the ears will fit over the oval.
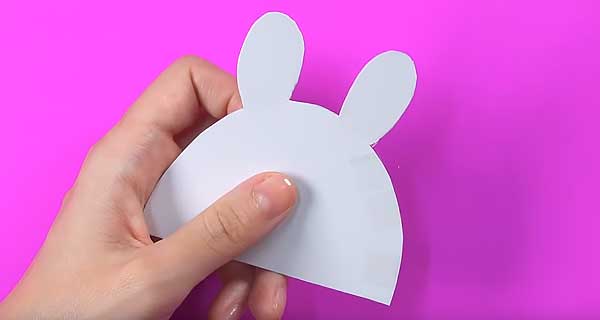
13. For convenience, cut off the top of the oval by a couple of mm.
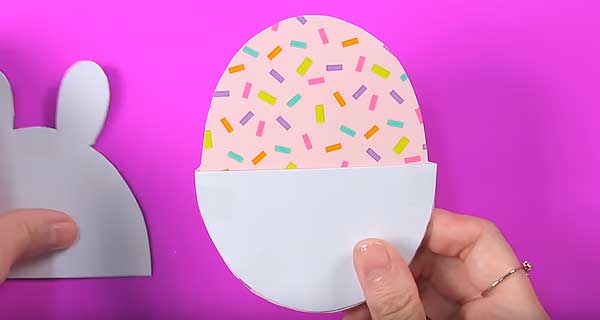
14. Put on the detail with the ears.

15. For hiding the strips of adhesive tape, glue another detail with ears and a half of an oval.
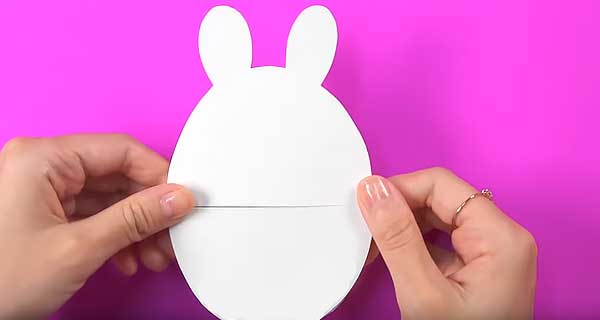
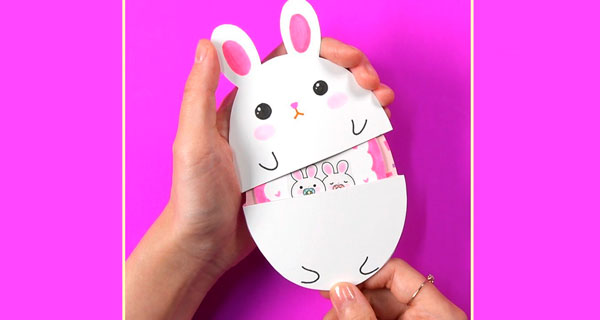
16. Add a face, paws and ears.

17. Let’s prepare a notebook that will place in the pocket. Trace the blank on the paper, and inside it draw a small oval.
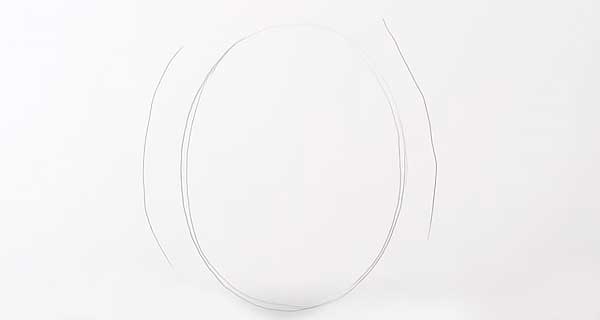
18. Cut it out.

19. Add a cute sticker or draw yourself.

20. Add a frame and decorate the background with hearts.
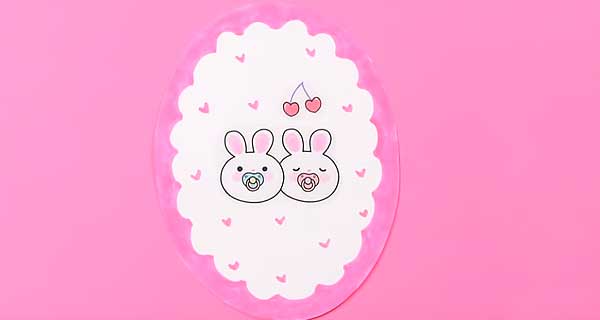
21. Prepare sheets for notebook. We used 10 sheets.
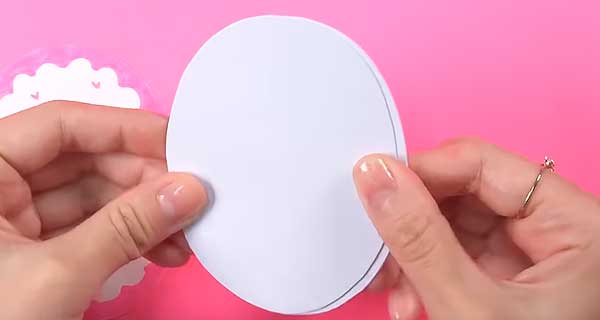
22. Staple the cover and sheets together.
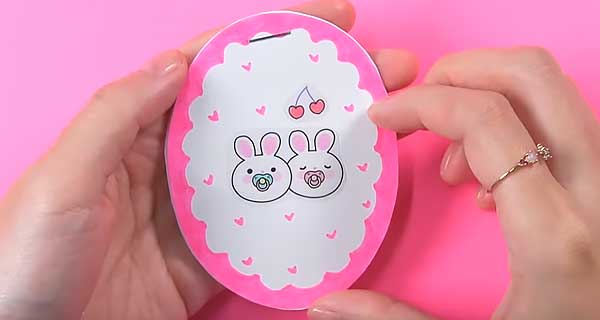
23. Place the notebook in the pocket. Done!
