Components
- Plastic bottle – 2 pcs .;
- Paper napkins;
- Paints;
- Cardboard;
- Paper;
- Glue.
Preparation:
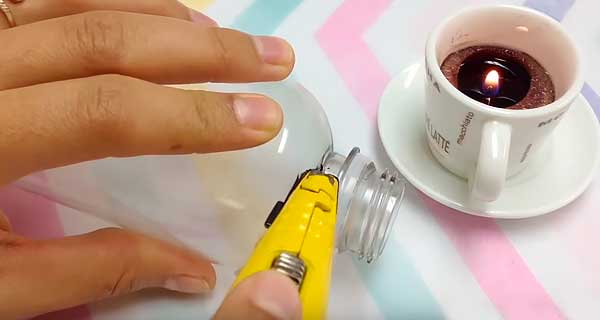
1. Take two plastic bottles and cut off the bottom part with a hot stationery knife.
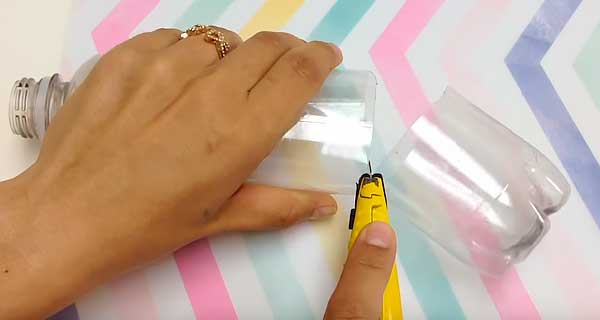
2. Then cut off the top.
You shoul get these two details.
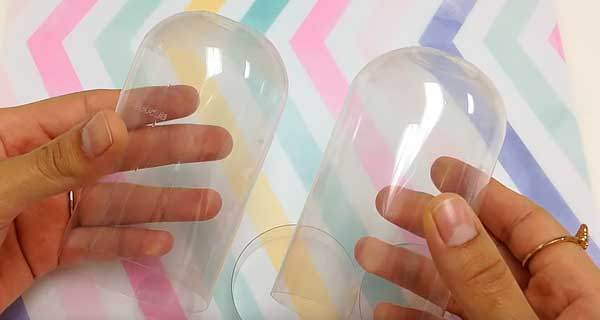
3. Cut two circles out of plastic to fit the size of the hole at the top.
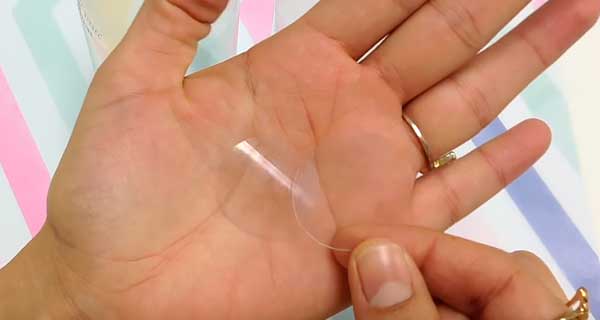
4. Glue the circles to the top with strong glue (E600 glue, hot glue).
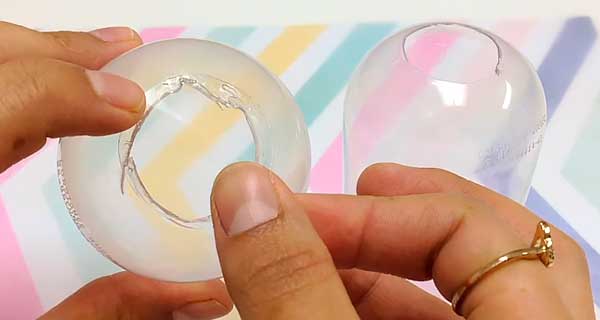
5. Cut out a strip out of a plastic bottle.
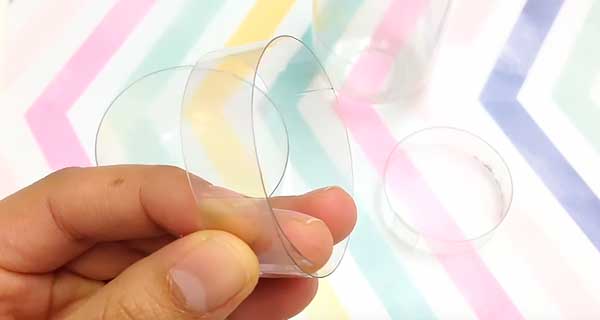
6. Glue the ends of the strip to form a circle that will fit in the bottle.
7. Put the circle in the bottle, making sure it fits the size.
8. Fix the strip in the bottle with glue.
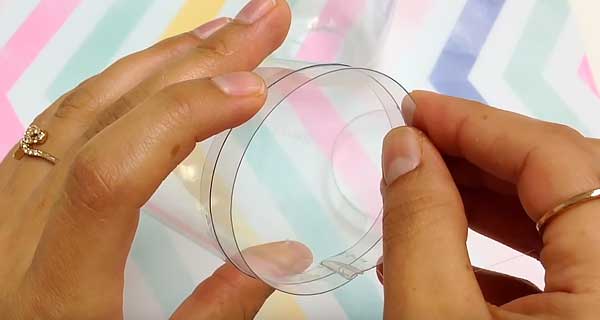
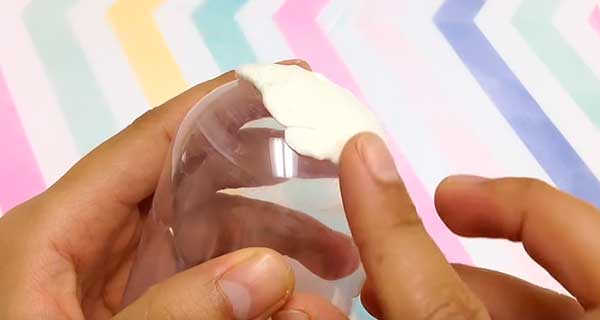
9. Optional: to smooth the round part of the detail, you can use clay or light plasticine.
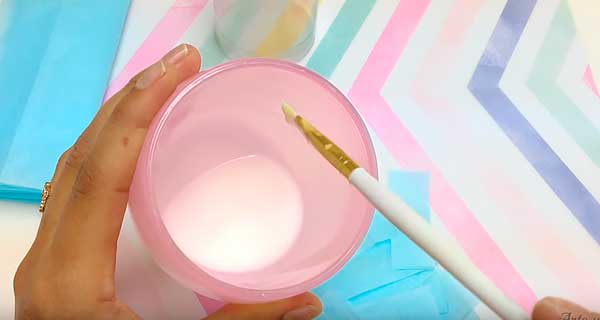
10. Stir the glue with water.
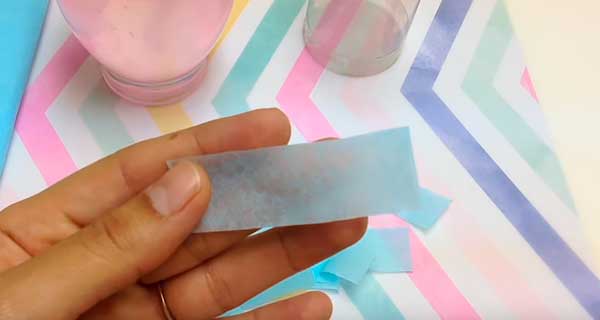
11. Cut paper napkins into small strips.
12. Glue the surface of the workpiece with paper napkins with glue diluted with water.
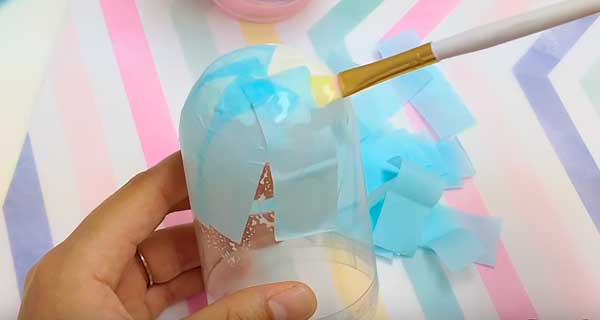
13. Glue two blanks in this way, you don’t need to glue the bottom glued strip.
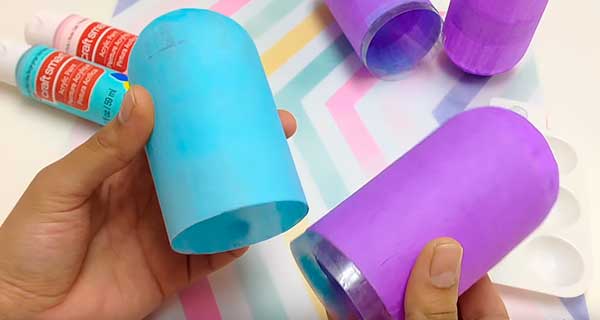
With this strip, the future capsule can freely close and open.
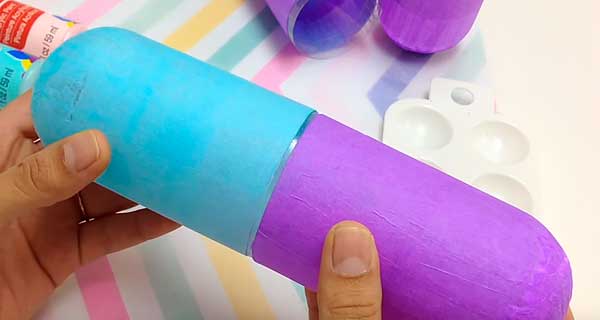
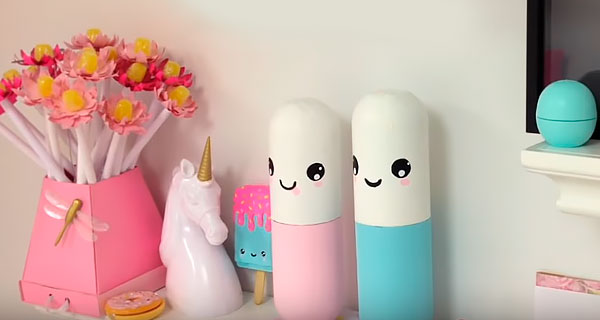
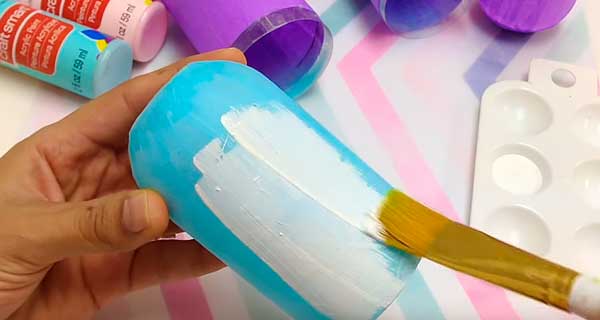
14. Paint the blanks.
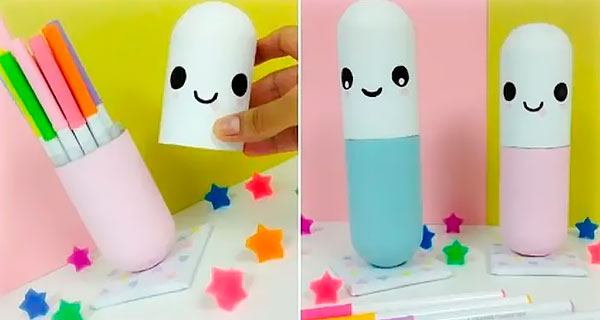
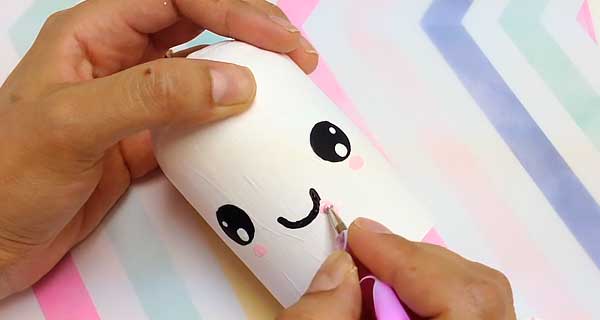
15. Add the kawaii face.
16. Let’s prepare the base – what the capsule will be stand on. Glue white paper to the cardboard rectangle.
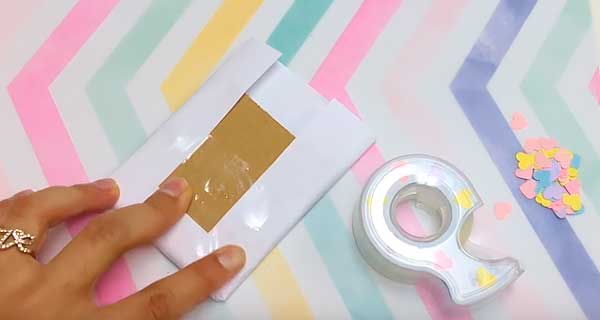
17. Decorate it with hearts cut out of colored paper.
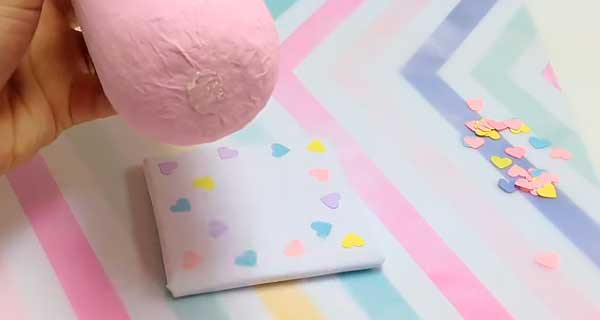
18. Apply strong glue to the capsule and stick it to the cardboard base.
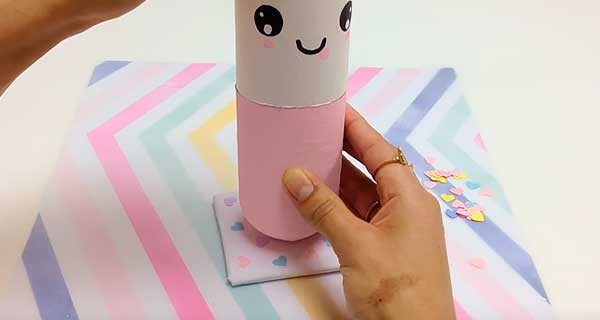
A cute capsule-pill for storing pens and pencils is ready!

Make a few capsules with different colors.
