Materials
- Shoe box;
- Corrugated board;
- Colored paper;
- Masking tape (paper);
- Scissors;
- Acrylic paint;
- Glue.
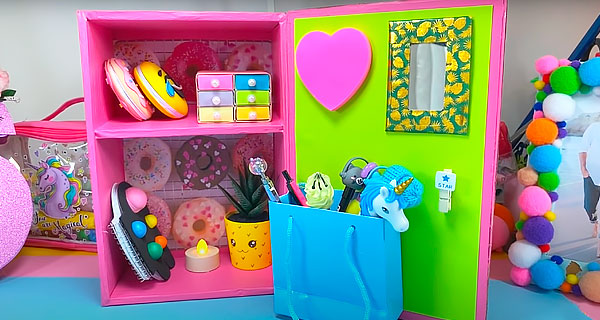
Preparation:
Let’s show you how to make a roomy organizer out of a shoe box.
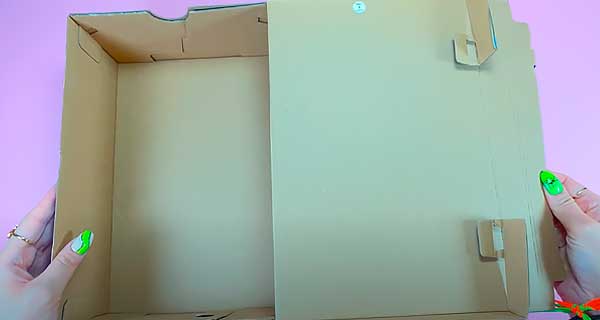
1. Take the box.
2. Cut off the sides of the lid.
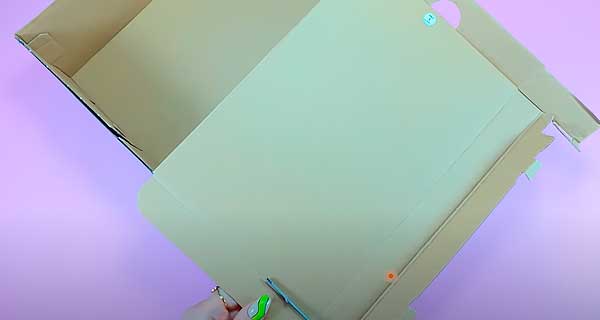
3. Cut out two rectangles according to the size of the top and bottom walls of the box.
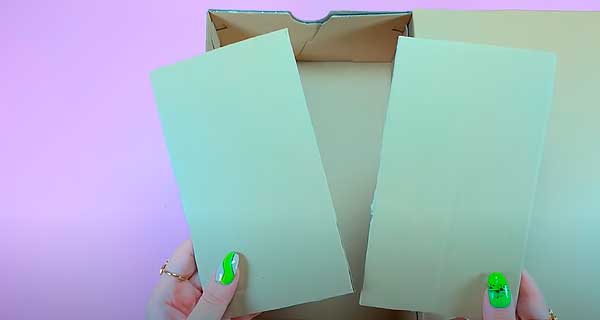
4. Also cut out rectangles to fit the left and right sides of the box.
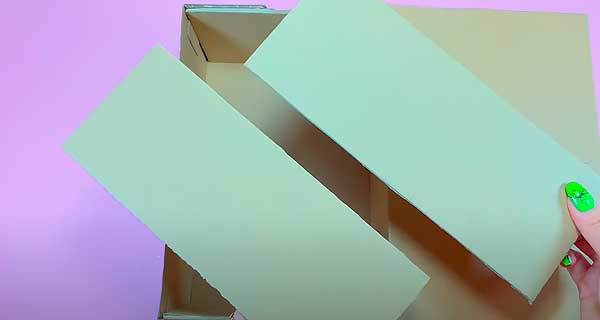
5. Glue the rectangles inside the box.
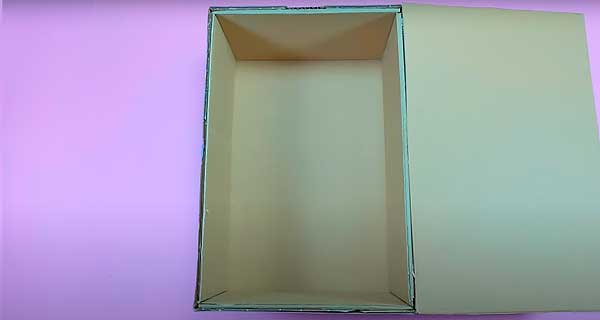
6. For the shelf, cut two rectangles according to the size of the top and bottom walls.
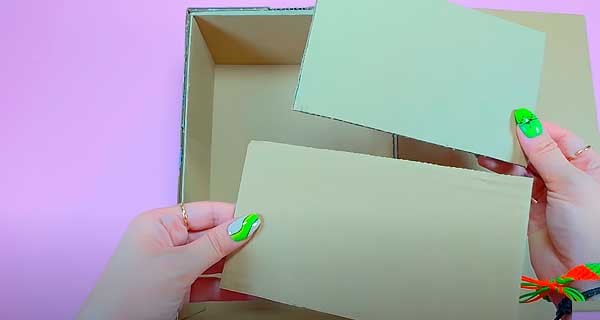
7. Glue them together.
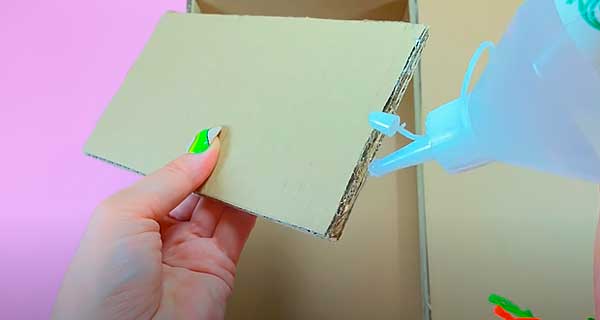
8. Glue the shelf inside the box.
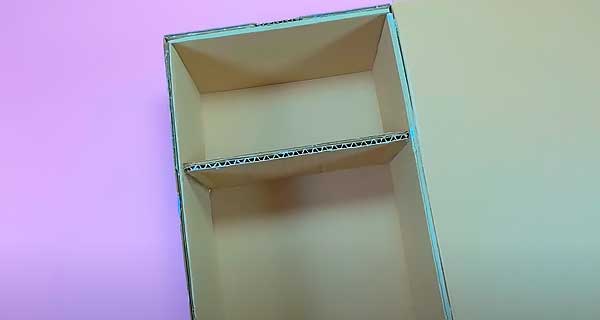
9. Tape the edges with masking tape and paper.
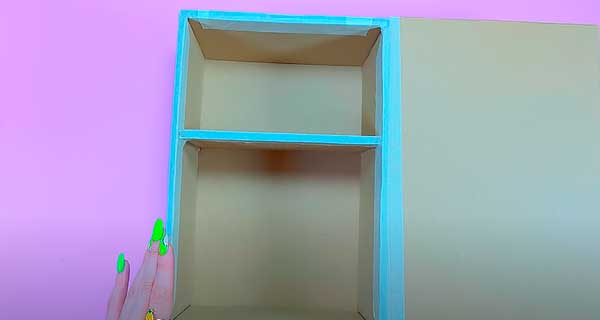
10. Cut a rectangle out of cardboard to fit the front of the box.
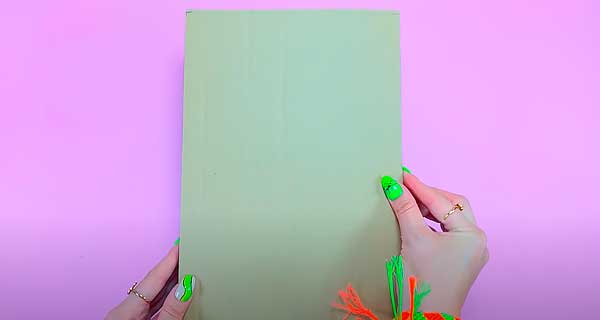
11. Cut out the inner part and frame, as in the photo.
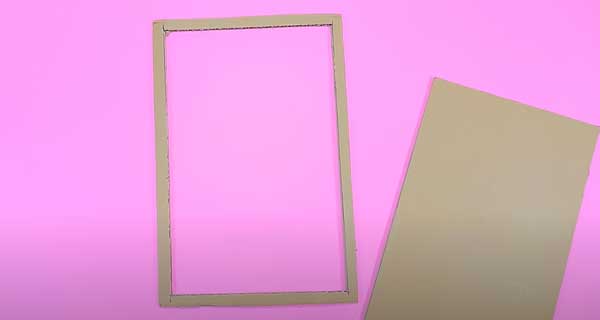
12. Glue the frame first.
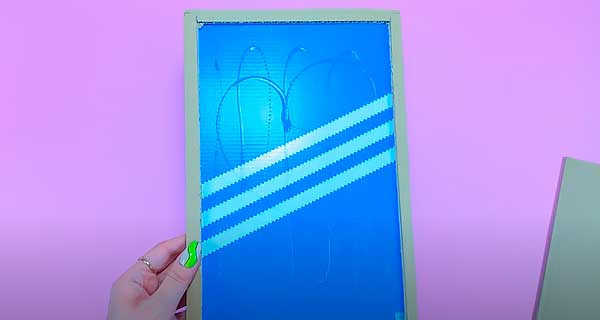
13. Then the inner part.
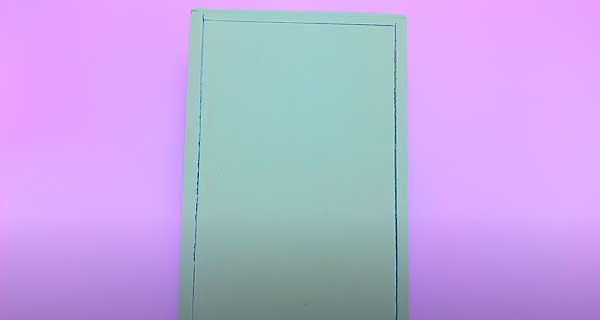
14. With the reverse side of the pen or brush, draw lines along the cuts, making the cutout wider.

15. Cut out three strips of corrugated cardboard and glue them to the front.
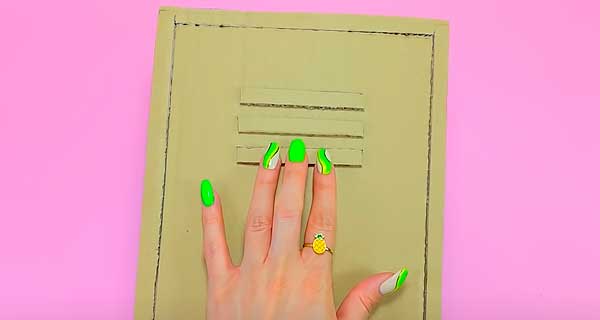
16. Cover them with masking tape or paper.
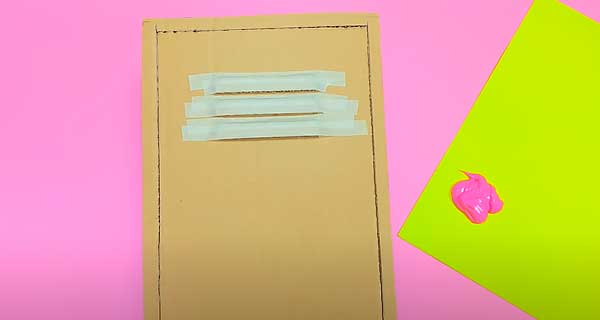
17. Paint the outside of the box with acrylic paint.
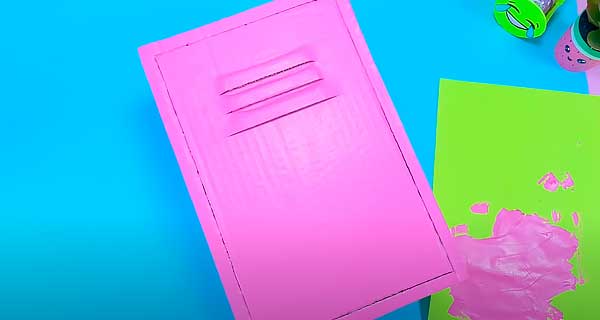
18. Then inner part.
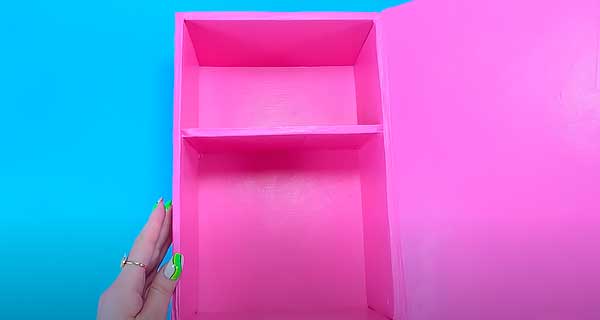
19. Paste the inner walls of the box with colored paper.
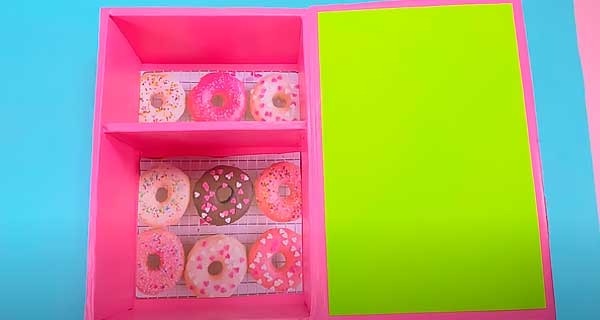
20. Glue a small paper bag, note sheets, a mirror, a clothespin to the door.

21. For the handle, cut a strip of corrugated cardboard.
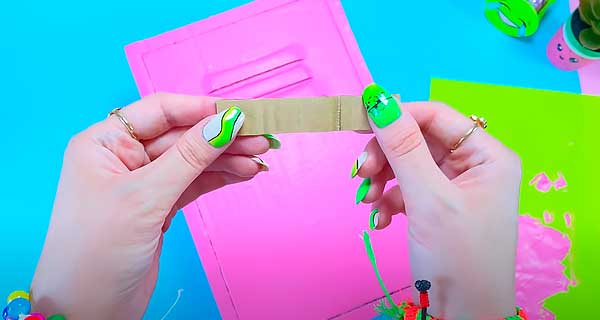
22. Color it and fold it into a handle shape.
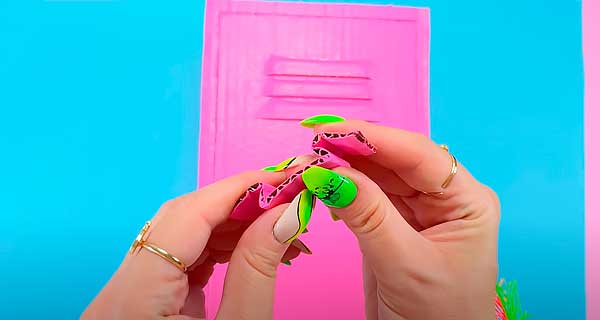
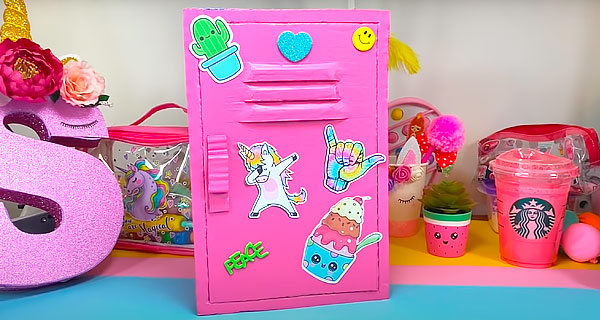
23. Glue to the door. Also paste stickers on the door.
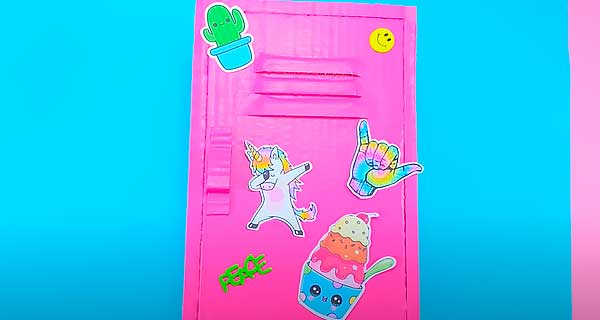
The organizer is ready! You can place items!


