Materials
- Cardboard;
- Paper;
- Craft foam;
- Clear plastic;
- Scissors;
- Felt pens;
- Velcro;
- Foam rubber (sintepon, cotton wool);
- Glue.
Steps:
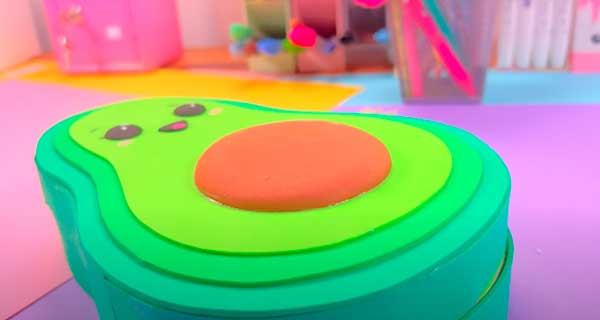
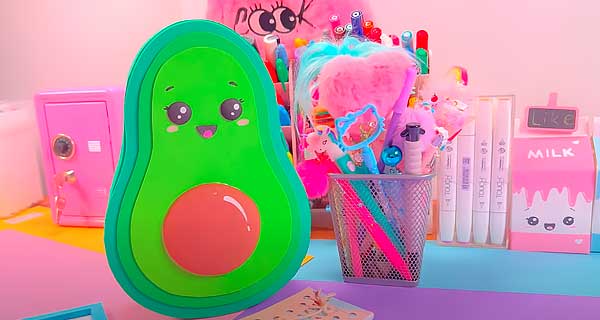
We’ll show you how to make a two-level organizer in the shape of a cute avocado.
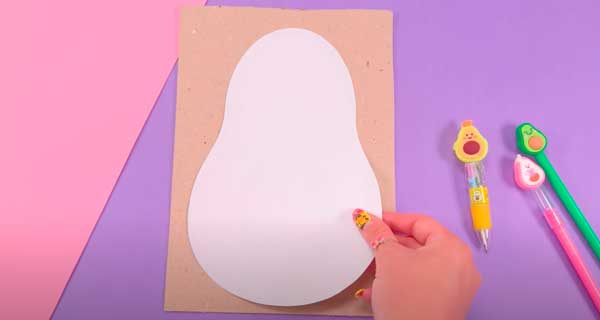
1. Trace the avocado template onto cardboard.
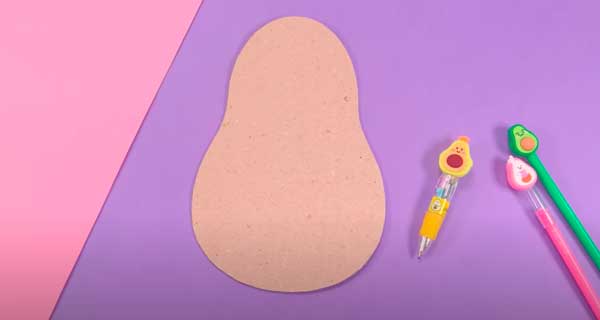
2. Cut it out.
3. Cut a long strip of cardboard, 3 cm wide.
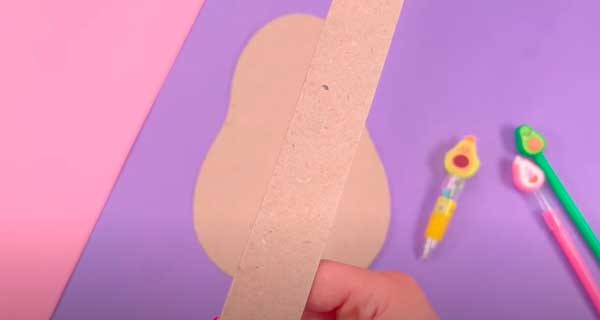
4. Glue the strip along the edge of the avocado.
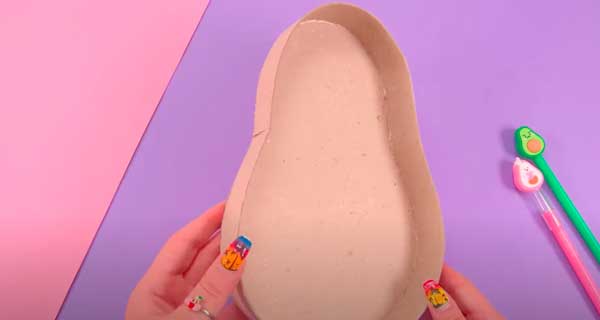
5. Trace the avocado template onto colored paper.
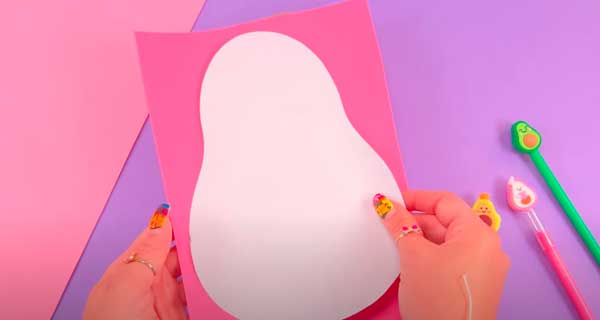
6. Cut it out and glue it inside the shape.
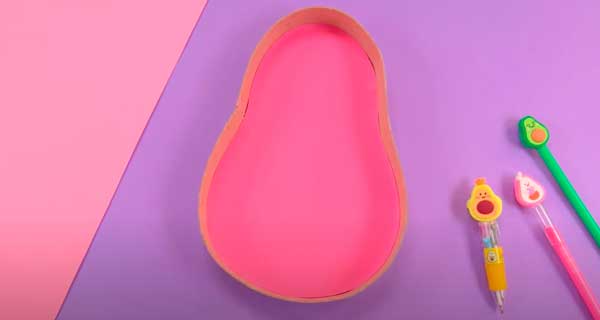
7. Cover the side with a strip of green paper.
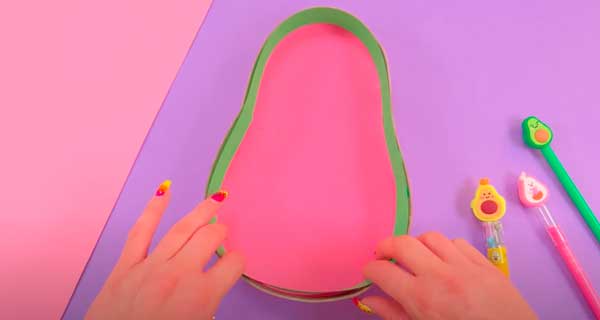
8. From the avocado template, cut out another cardboard piece.
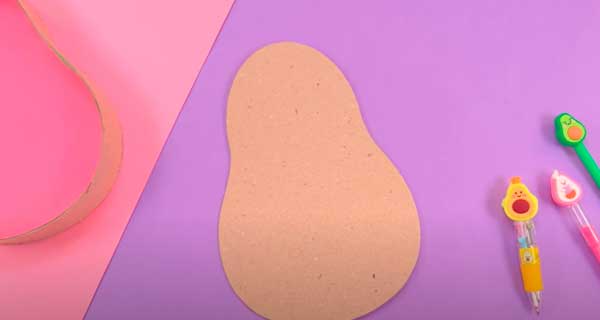
9. Cut a long strip 2 cm wide.
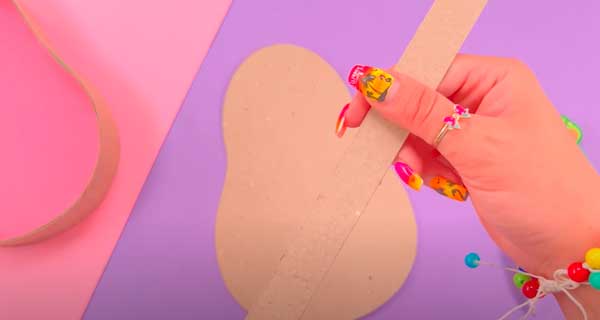
10. Glue the strip along the edge of the avocado.
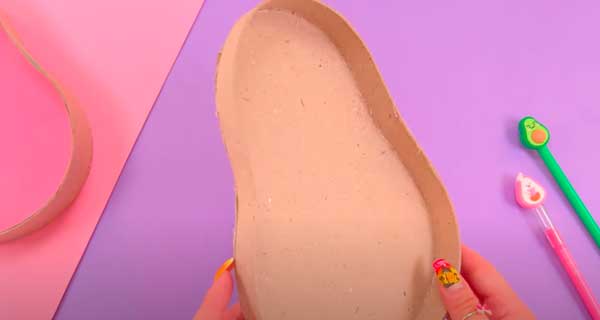
11. Trace the avocado template onto colored paper.
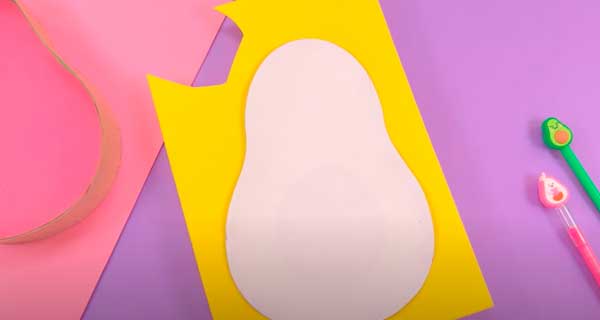
12. Cut it out and glue it inside the shape.
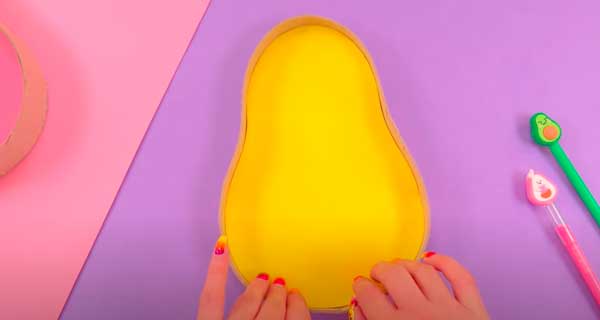
13. Cover the side with a strip of green paper.
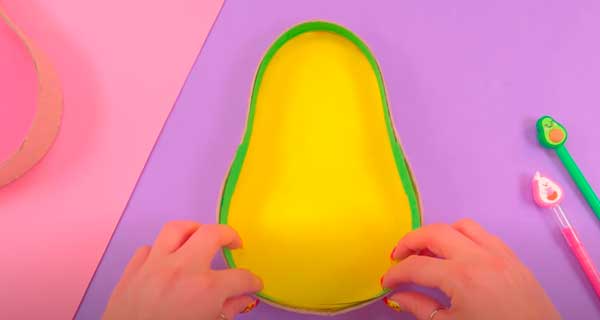
14. Stack two forms on top of each other. The deep form is located at the bottom.
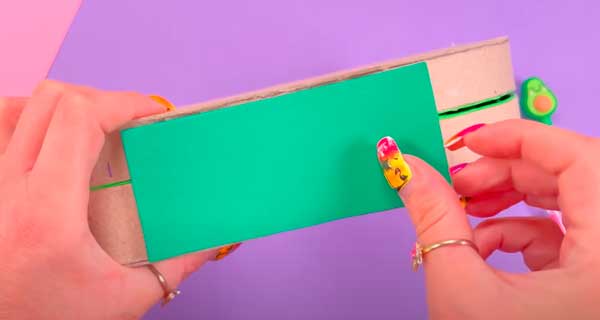
15. Apply glue to the side.
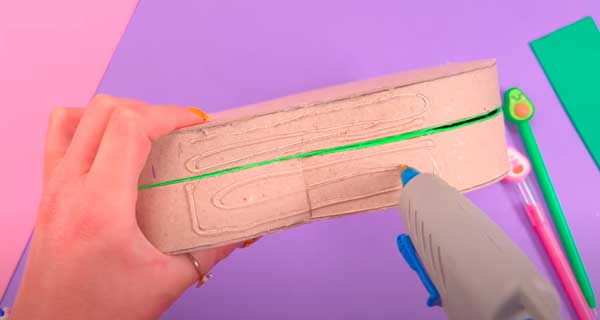
16. Glue a rectangle of craft foam or cardboard to this place, gluing the two shapes together.
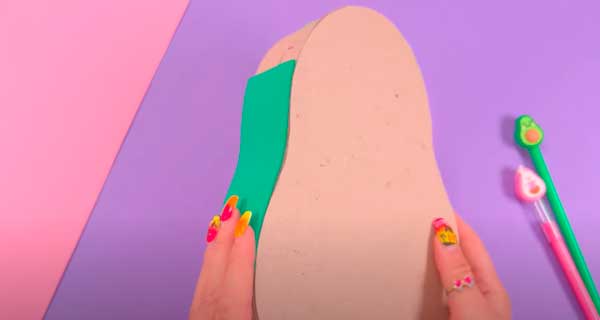
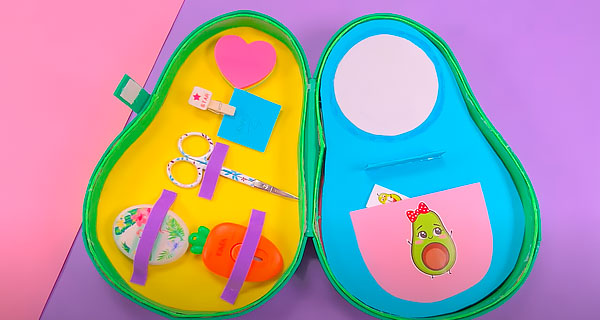
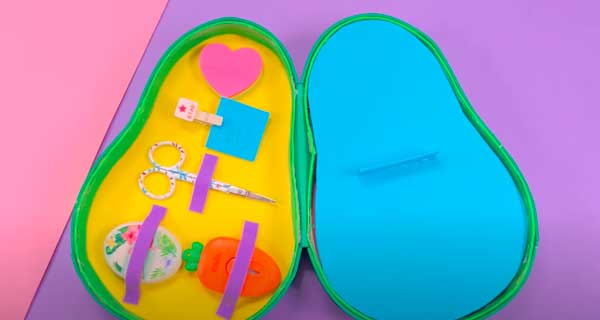
This is what the future organizer looks like when expanded.
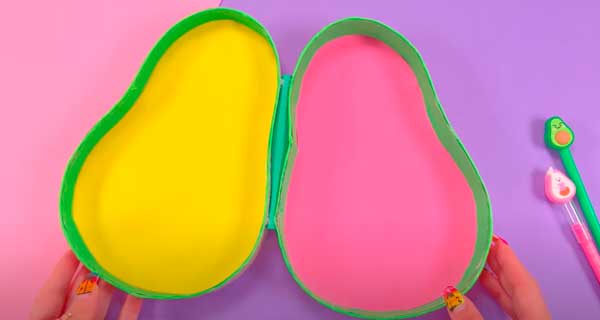
17. Cover the bottom side with a strip of craft foam or cardboard.
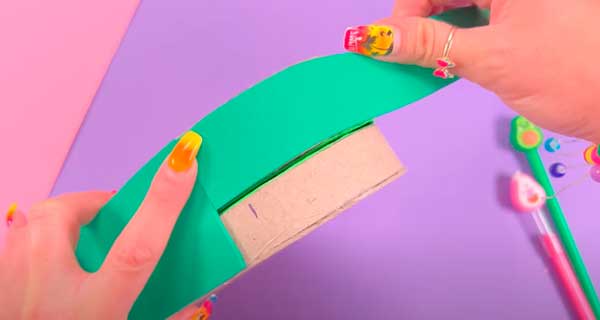
18. Then cover the top side.
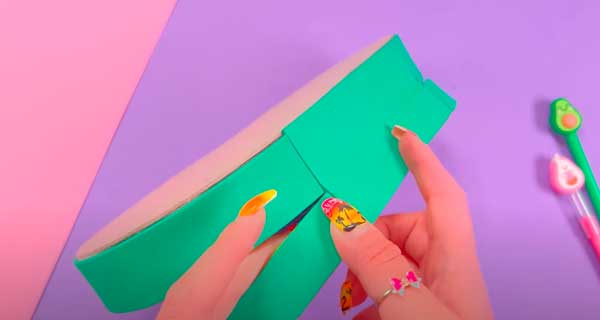
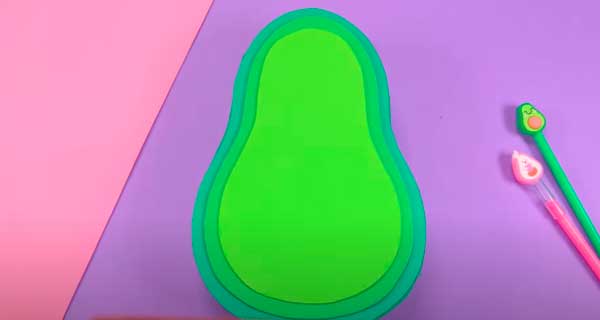
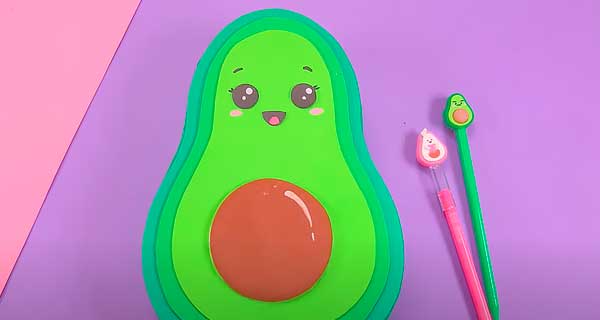
19. Cover the front side with green craft foam or cardboard. Glue a few more layers of smaller avocados on top.
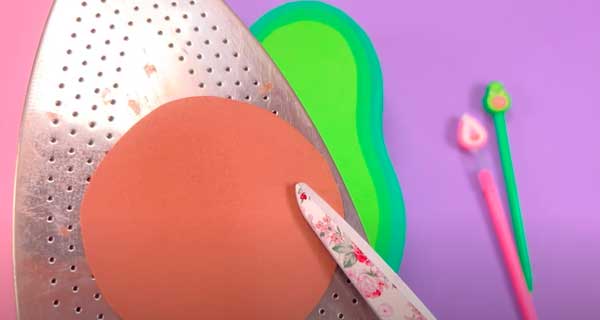
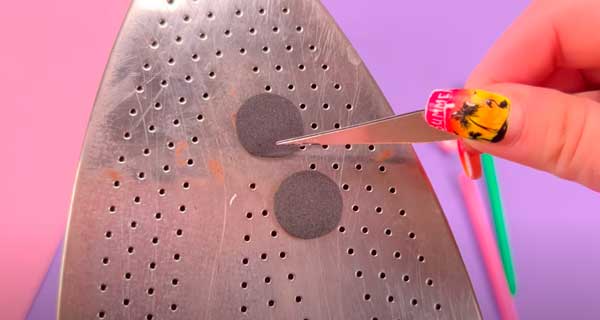
20. Cut a circle from craft foam and place it on the iron so that it takes on a three-dimensional shape.
You can replace craft foam with cardboard, but the cardboard will no longer have a three-dimensional shape.
21. Take a small amount of foam rubber or cotton wool.
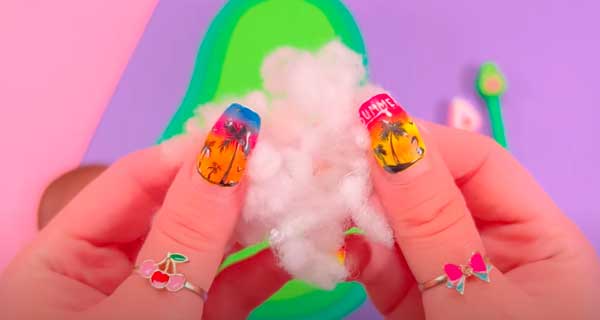
22. Apply glue along the edge of the circle.
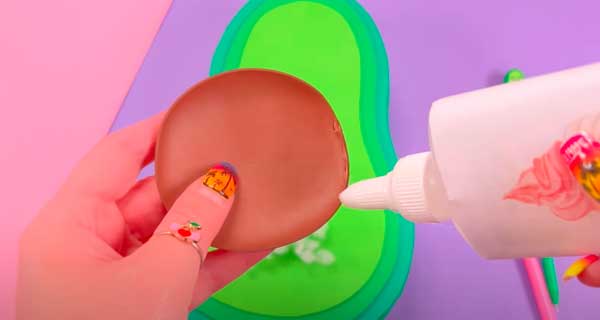
23. Glue the circle to the front part, placing foam rubber or cotton wool under it.
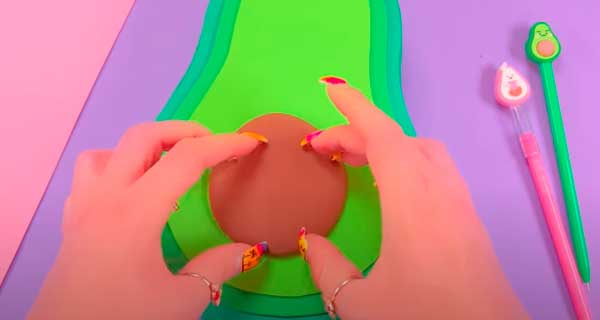
24. Cut out the details for the face.
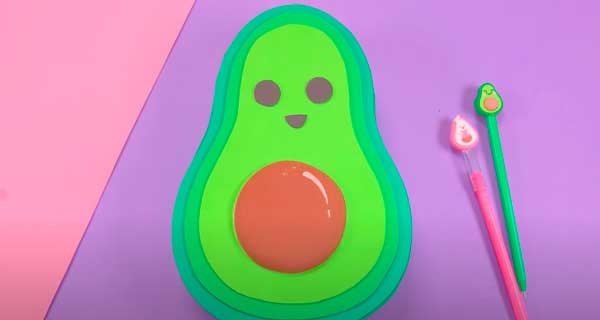
25. Also place two eye circles to the iron.
26. Glue the parts to the front part. Draw the remaining elements with felt-tip pens.
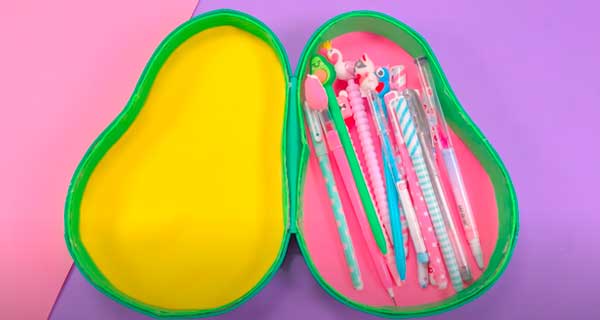
27. Place pencils, pens, markers in the inside of the avocado.
28. Trace the avocado template and cut out another piece from cardboard.
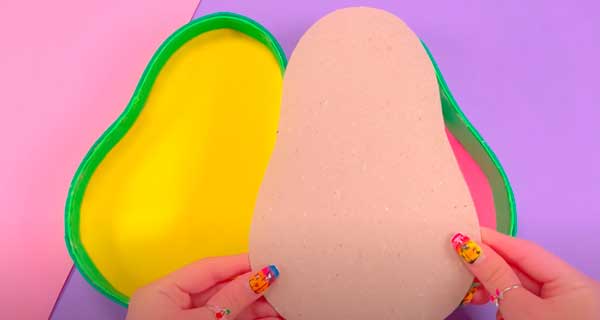
29. Cover it with colored paper.
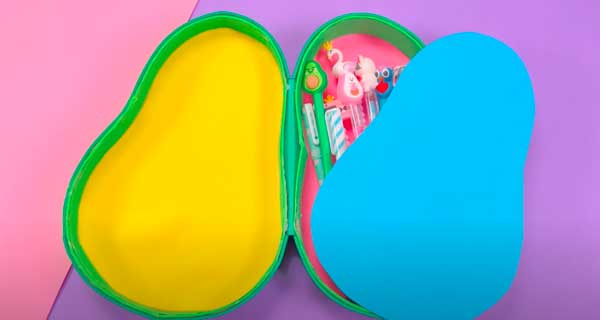
30. Cut out a small rectangle from cardboard.
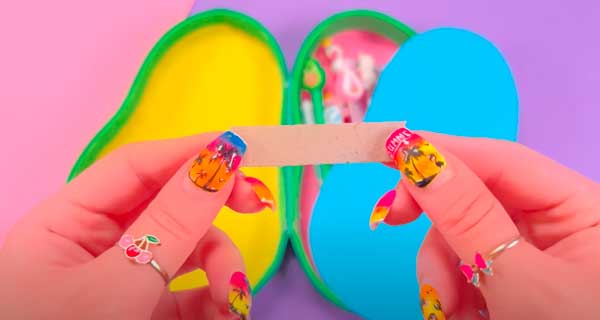
31. Cover it with colored paper.
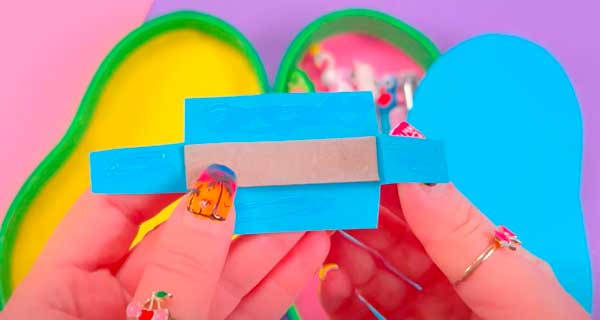
32. Apply a strip of strong glue to one side.
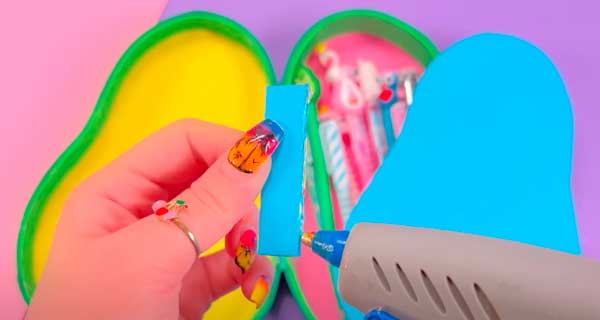
33. Glue the rectangle to the part. This detail will separate the organizer levels.
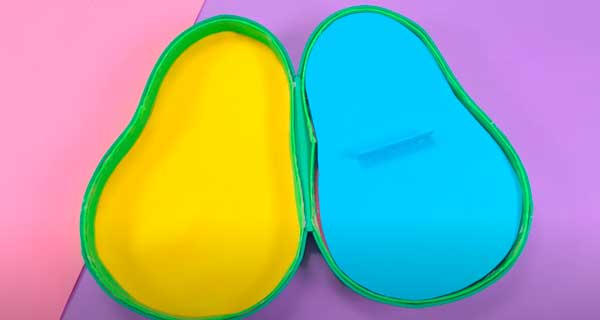
34. On the other side, place small office supplies: a sharpener, an eraser, etc., securing them to straps made of craft foam or cardboard.
35. Glue Velcro onto a strip of craft foam (thick fabric).
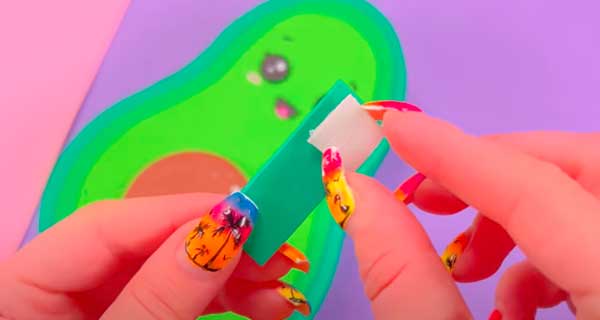
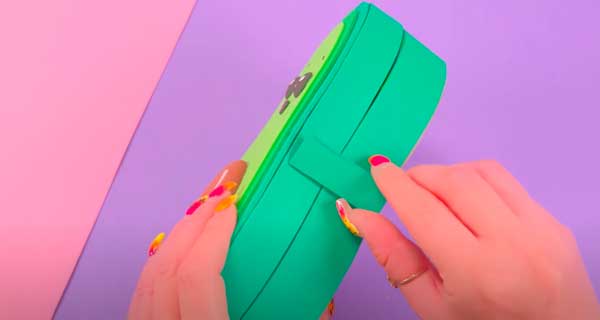
36. Glue the part to the side of the organizer.
37. Glue a circle of white paper to the part separating the levels.
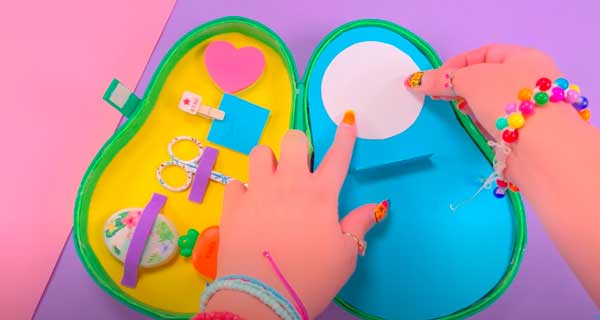
38. Cut a slightly larger circle out of clear plastic. Apply a strip of glue along the edge of the circle.
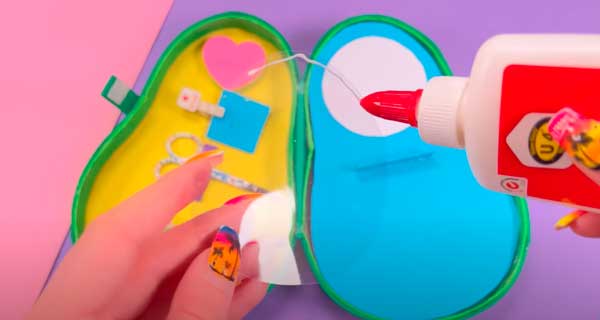
39. Glue the plastic on top of the white circle.
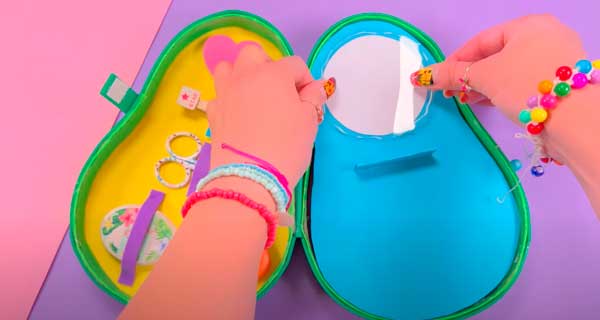
Now you can write notes on plastic that can be easily erased with a napkin or cloth.
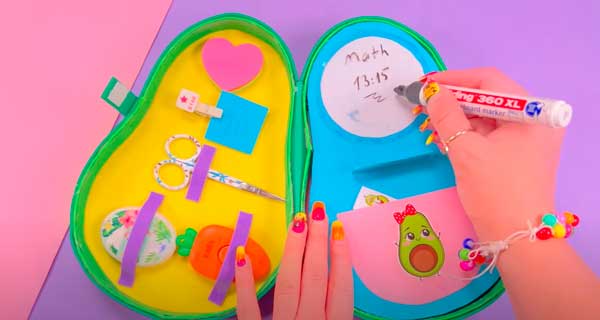
40. You can glue a pocket to the bottom.

The organizer is ready! It is easy to lift the dividing level and take the necessary pen or pencil.
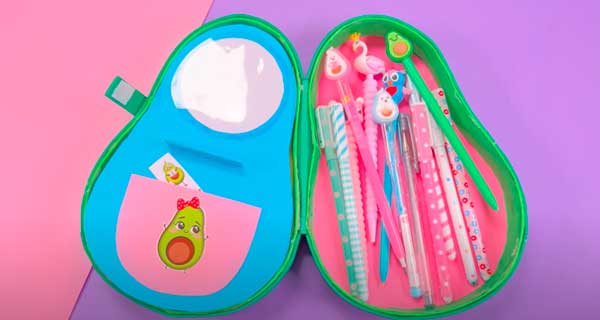
This is such a cool, roomy and very cute organizer!

And the bone is so voluminous and soft, it’s so pleasant to squeeze it. Anti-stress effect guaranteed!
