Components
- Colored paper (cardboard);
- Pencil;
- Paints;
- Markers;
- Glue;
- Scissors;
- Ruler.
Preparation:
1. On colored paper or cardboard, draw lines according to the sizes shown in the photo.
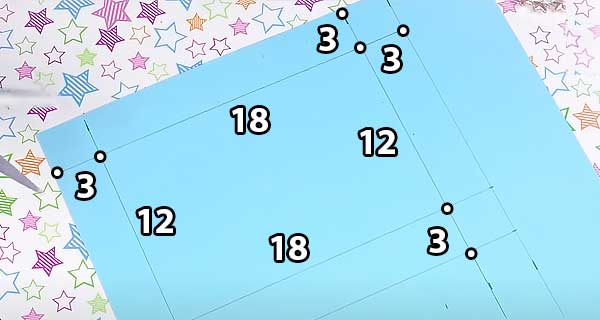
2. Cut the workpiece out.
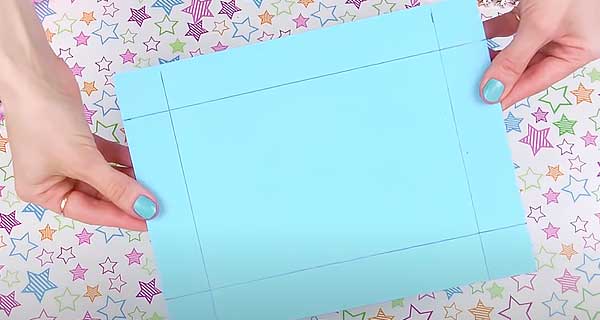
3. At the square, cut off the triangles along the edges.
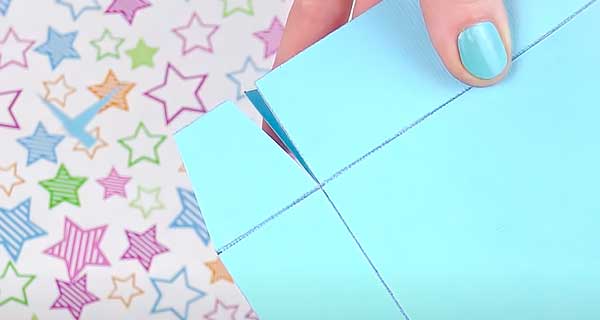
4. Do this with all four squares and bend the workpiece along the lines.
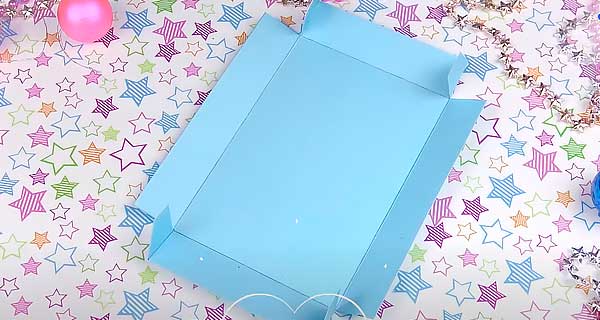
5. Assemble the blank into a box and fix it with glue.
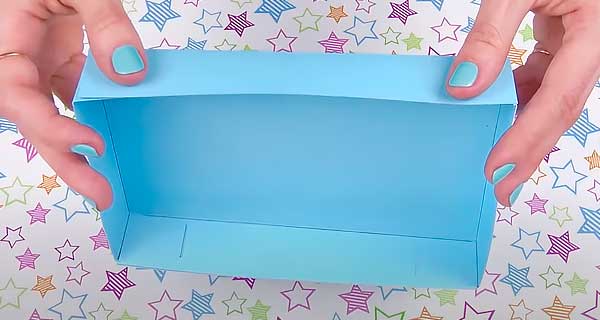
6. Cut a small piece of ribbon, fold in half and glue to the box, using a strong glue.
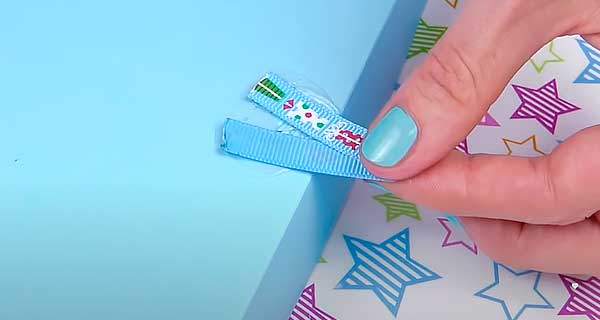
7. Cover the ends of the ribbon with paper the same color as the box.
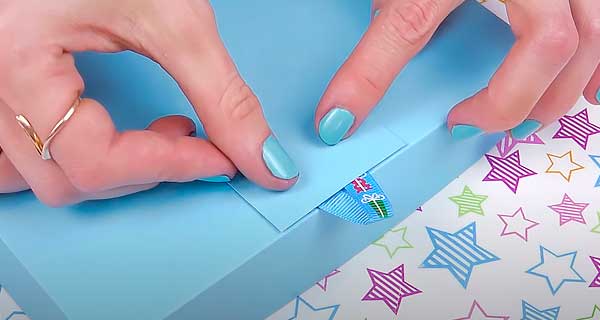
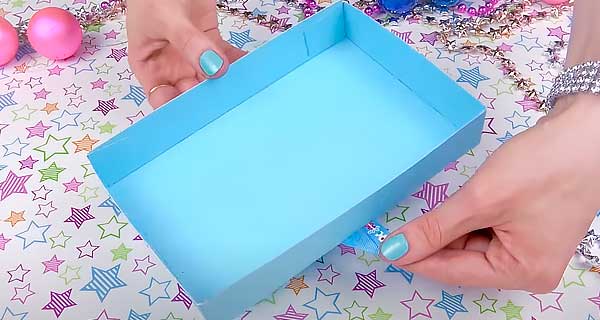
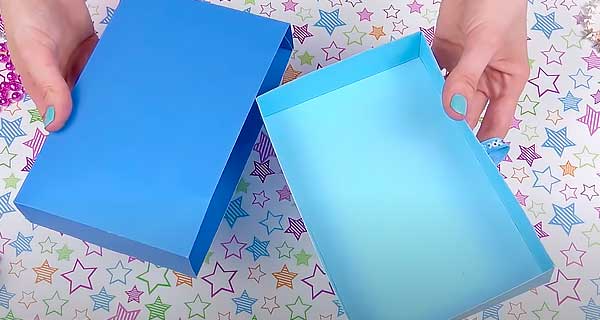
The retractable part of the box for storing pencils and markers is ready.
8. Let’s make the closing part of the box. On paper or cardboard, draw lines according to the sizes shown in the photo.
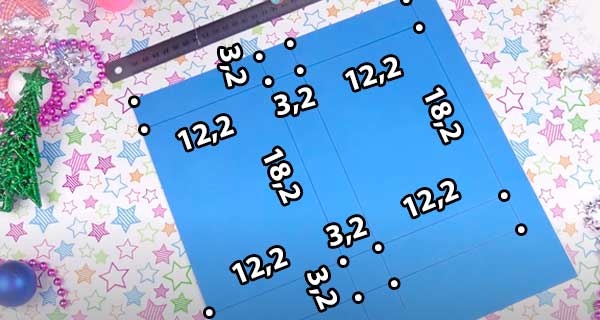
9. Cut the workpiece out.
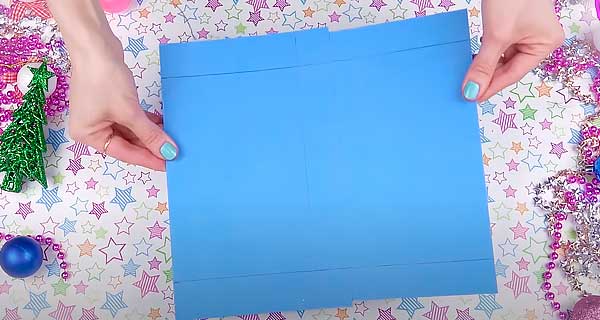
10. Cut the triangles around the edges of the squares.
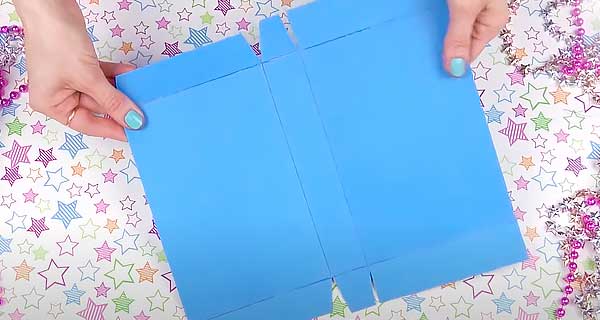
11. Apply glue to the top and bottom sides on the right side.
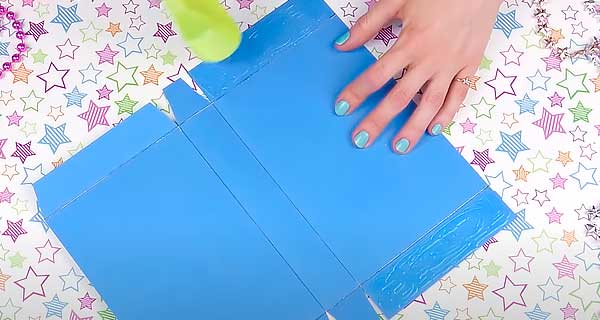
12. Fold the squares inward.
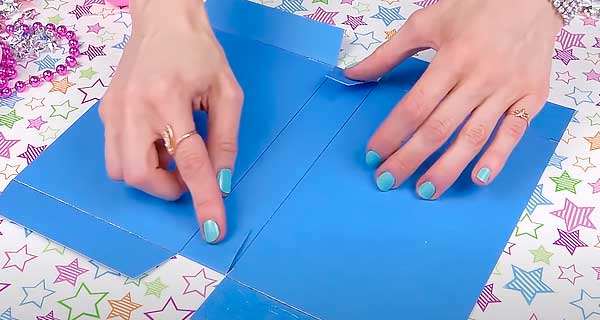
13. Fold the left side to the right and glue the sides.
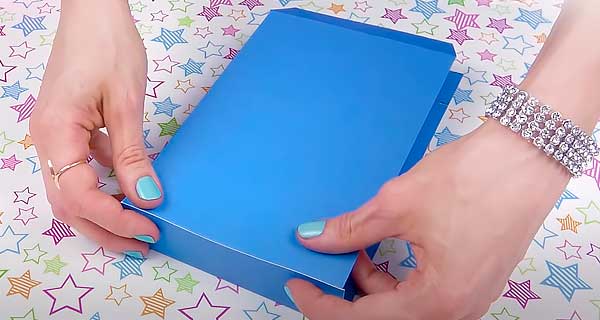
The base of the box is ready. The retractable part must fit freely into the closing part.
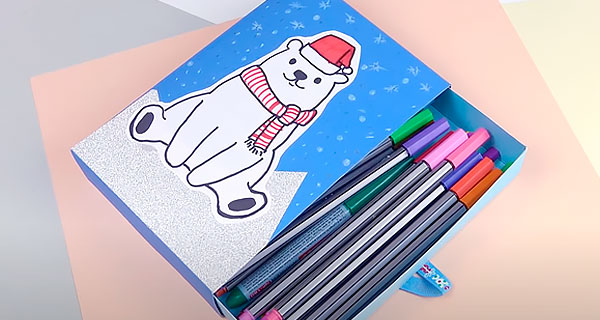
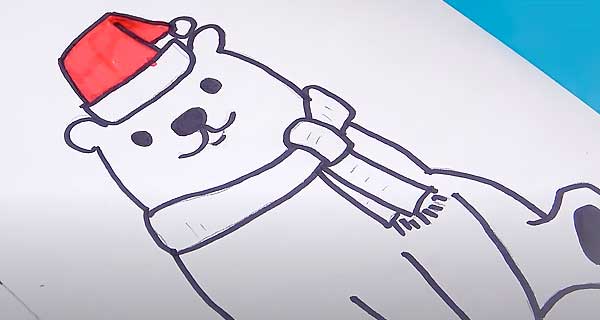
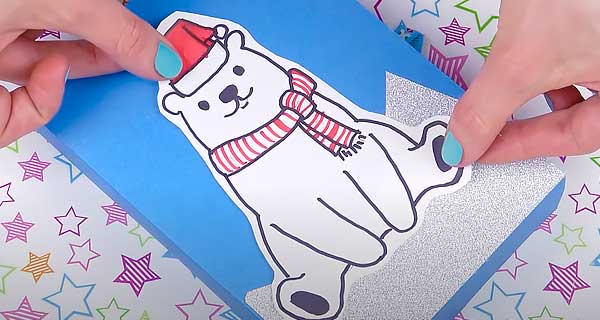
14. Draw a polar bear first with a pencil, then circle and color with felt pens.
15. Glue the ice floe on which the bear will sit on the front side. Use glitter paper.
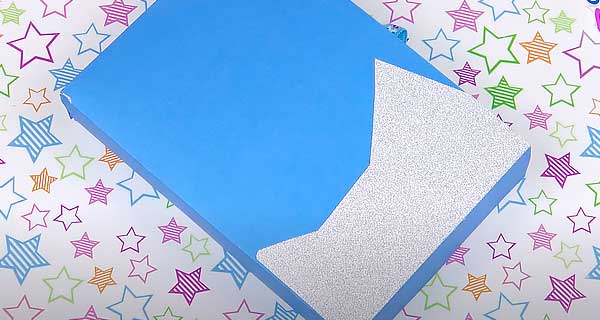
16. Then glue the bear.
17. Draw the snowflakes with a white pen or pencil.
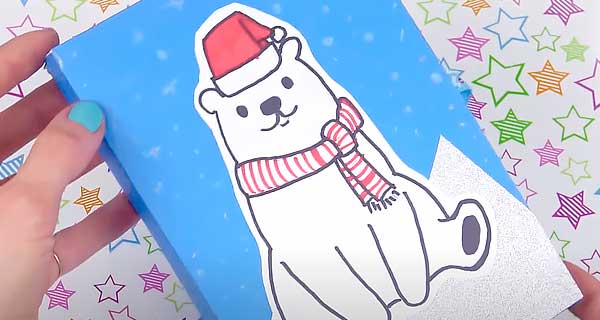
The winter box for pencils with a polar bear is ready! And this cute arctic fatty will help you keep your pencils organized:)


