Components
- Paper;
- Cardboard;
- Pencil;
- Markers;
- Scissors;
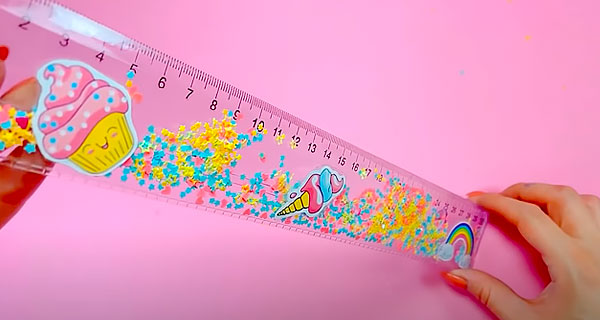
- Ruler;
- Duct tape;
- Transparent plastic from packaging;
- Glue.

Preparation:
1. Draw on cardboard and color in blender.

2. Cut it out and also the inner window.

3. Trace the top of the blender on light blue cardboard or paper. Draw a small strip on top. Cut out the workpiece.

4. Stick the transparent plastic from the packaging onto the tape to the back of the picture.

5. Glue the back of the blender with duct tape. There is no need to glue the top.

6. Fold over the top and glue the blue cap on top.

7. In the blender, you can put sheets, or stickers in the form of fruit. Draw and color the fruit.

8. Let’s make stickers using double-sided tape. You can find other ways to make stickers in our app “How to make stickers”.
Cut out the pictures and glue them onto double-sided tape.
9. Laminate the top with clear duct tape.

10. Cut out pictures.

11. And place it in the blender. Done!