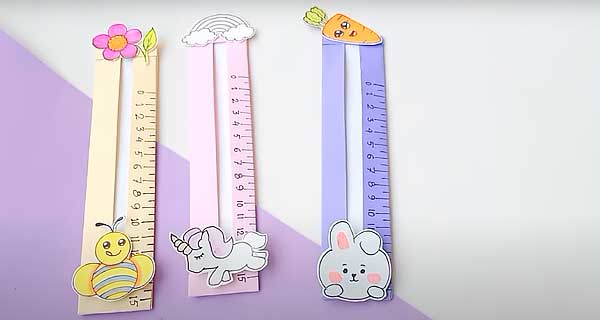
Components
- Cardboard;
- Colored paper;
- Pencil;
- Paints;
- Markers;
- Scissors;
- Ruler.
Preparation:
1. Cut a rectangle 21 * 4 cm out of cardboard.
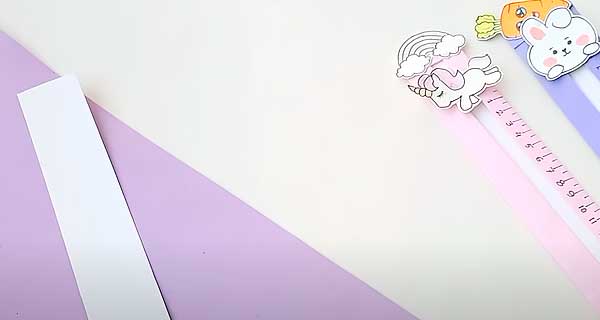
2. Cut a rectangle 25 * 5 cm out of colored paper.
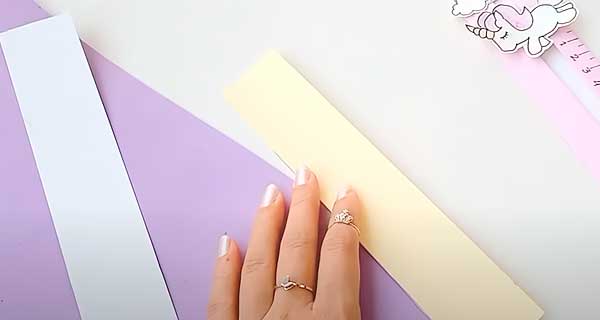
3. Measure 1 cm on colored paper, fold this part and fix with glue.
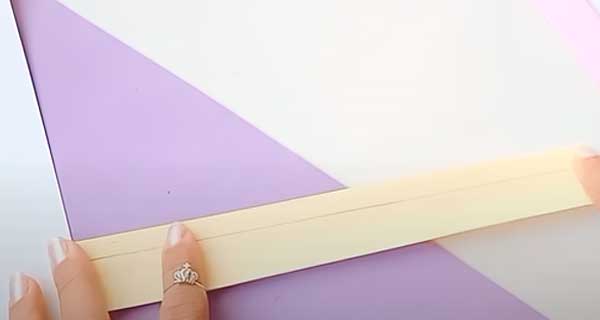
4. Fold the strip in half.
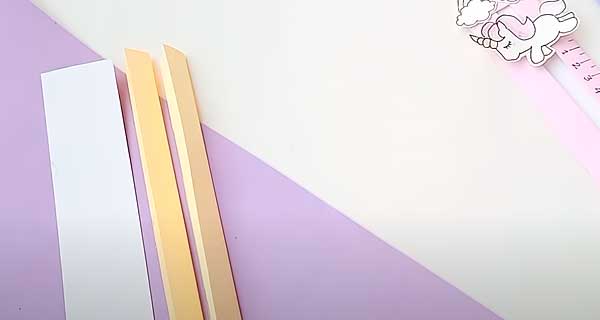
5. Make two such details.
6. Cut a strip of 15 * 1.5 cm out of colored paper.
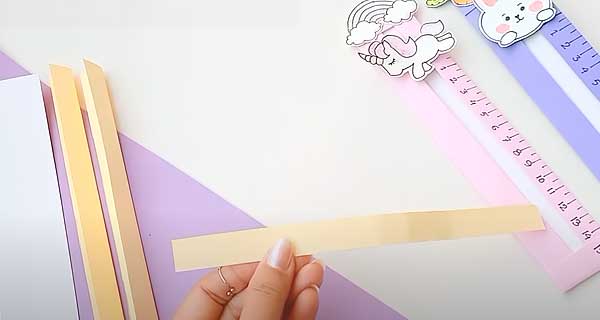
7. Measure 5 cm and fold this section towards the center.
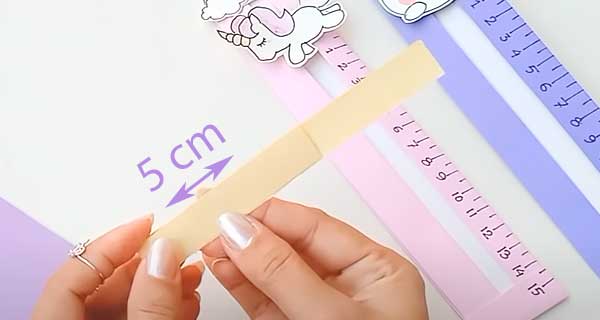
8. Measure 1.5 cm on the folded part.
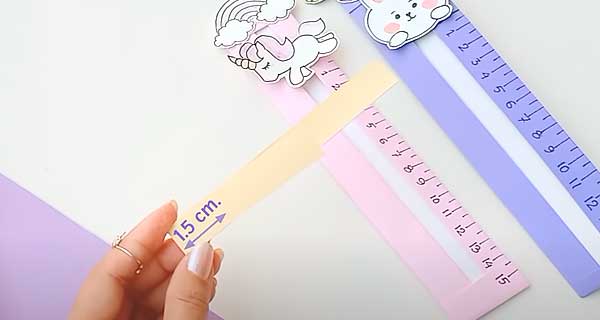
9. Fold the tip towards the fold of the folded section.
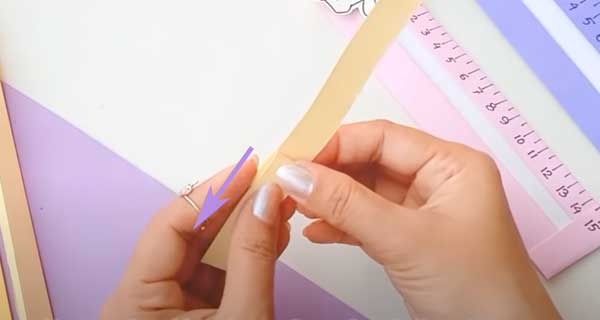
10. Bend the bottom strip back.
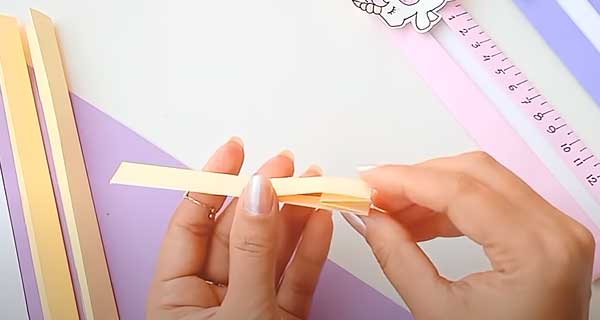
11. Spread the workpiece.
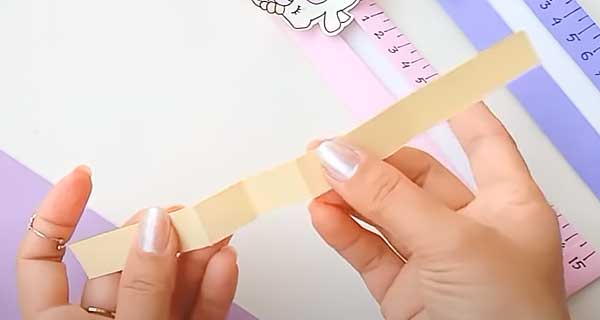
12. Fold as shown.
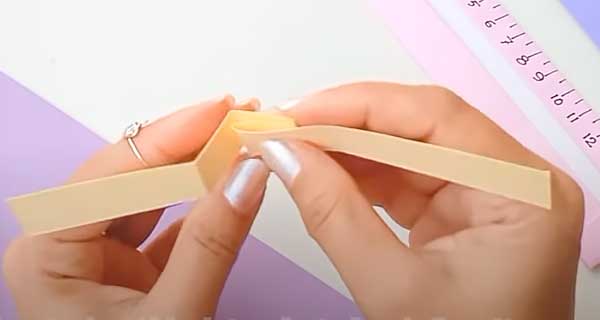
13. Fold the second section in the same way.
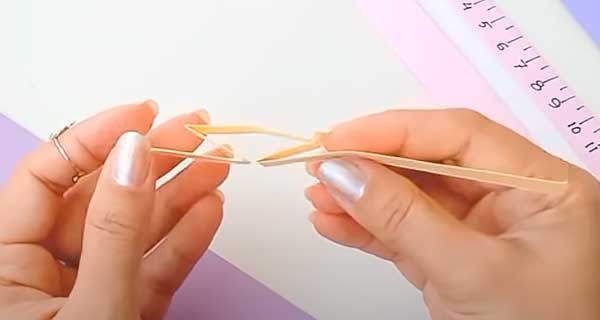
14. Wrap a piece of cardboard with a strip.
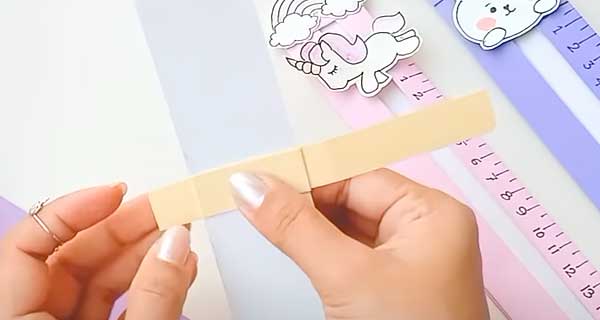
15. Glue the ends of the strips.
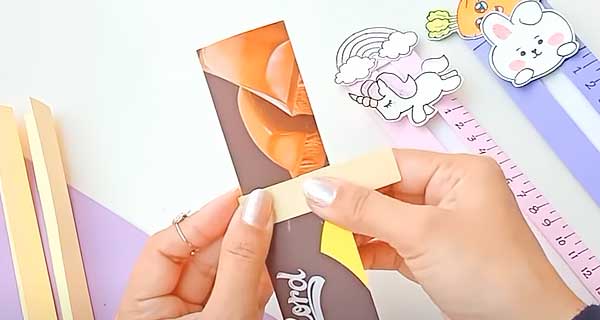
16. Cut off the excess.
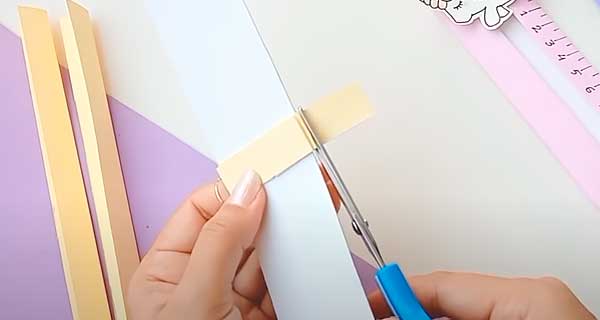
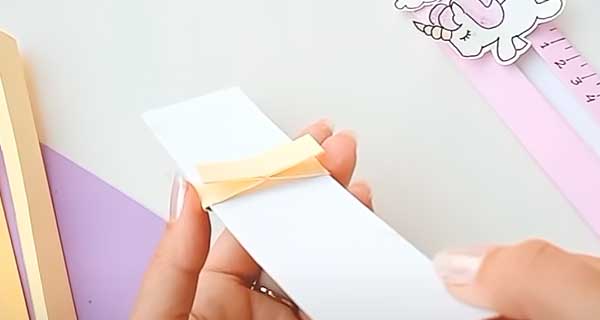
This is the construction you should get. The slider should move freely along the cardboard workpiece.
17. Place the colored paper workpieces on the sides of the cardboard workpiece and fix them with glue at the bottom of the backside.
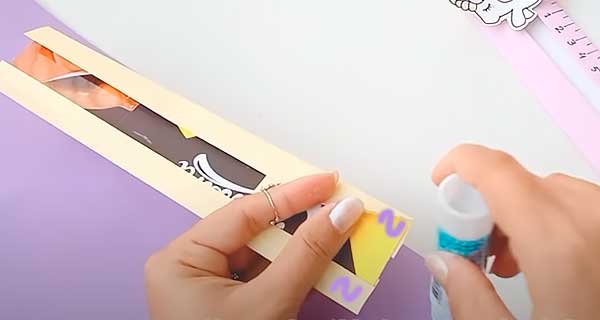
18. And at the front.
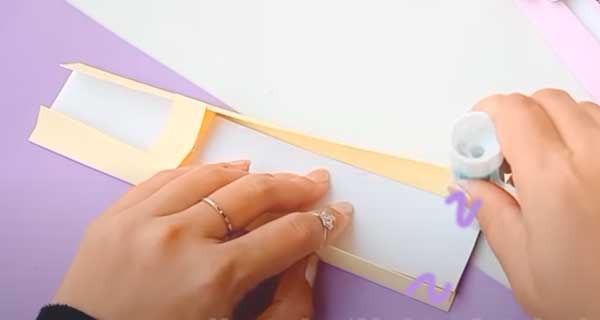
19. Cut a rectangle out of colored paper 25 * 6 cm. Fold the sides towards the center.
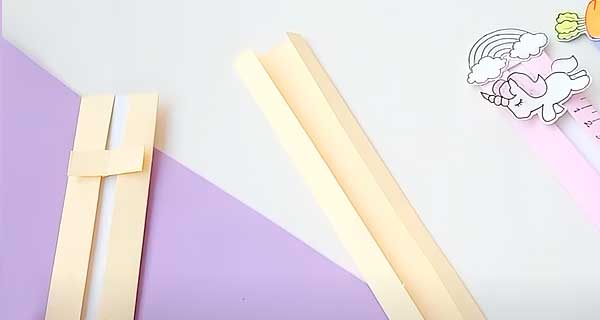
20. Apply glue to the back of the workpiece.
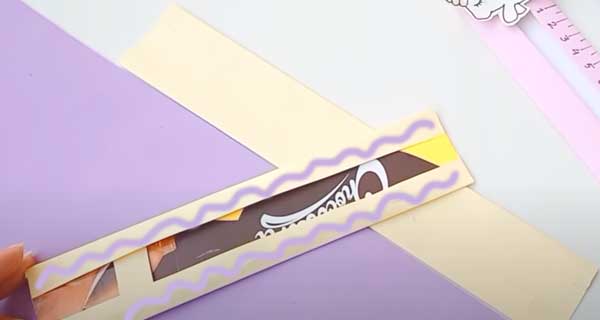
21. Glue the colored blank to the back side, and glue the free parts from the top and bottom, bending them to the front side.
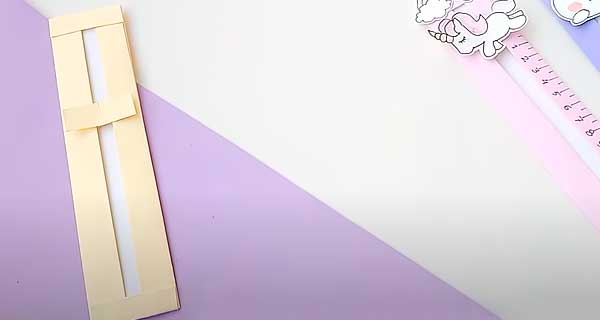
22. Draw and color a flower.
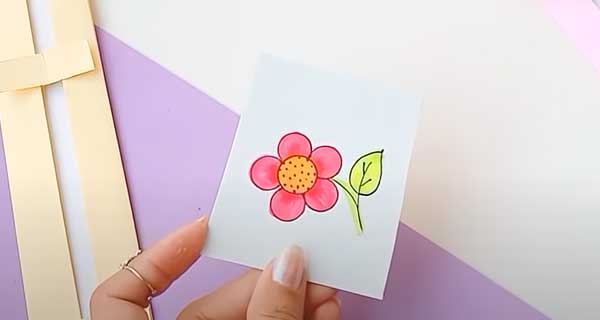
23. Cut it out. And draw the bee.
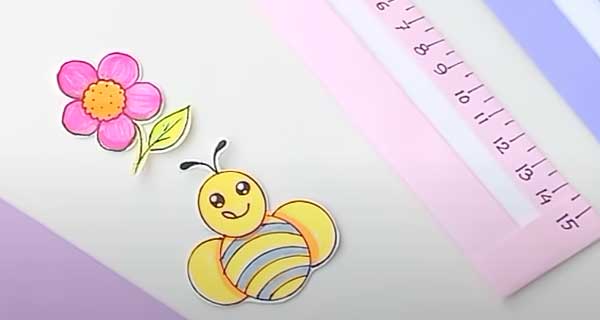
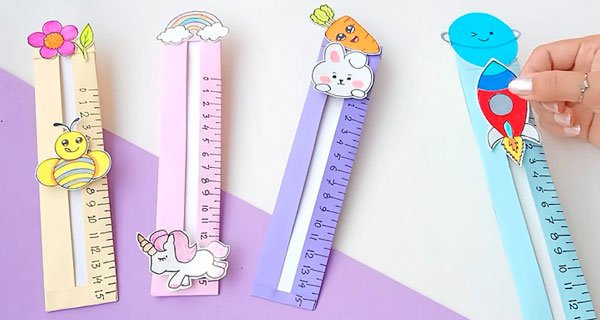
24. Glue the flower on top and the bee on the slider.
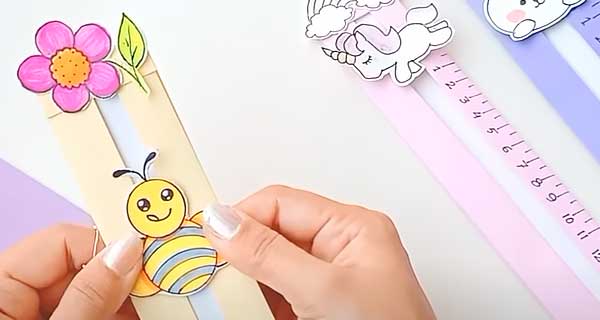
25. Use the ruler to mark up. The ruler is ready!
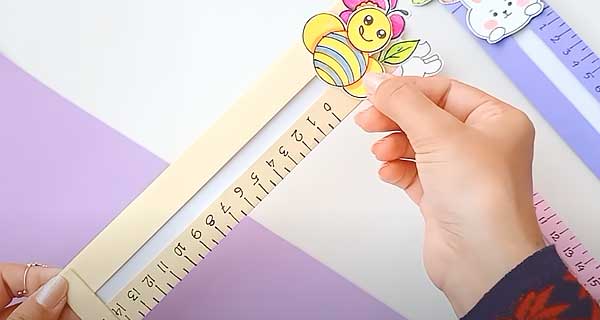
Make other rulers with different drawings.
