Materials
- Corrugated cardboard;
- Paper;
- Colored (decorative) paper;
- Matchboxes;
- Glue;
- Scissors;
- Clear plastic film;
- Pom-poms.
Steps:
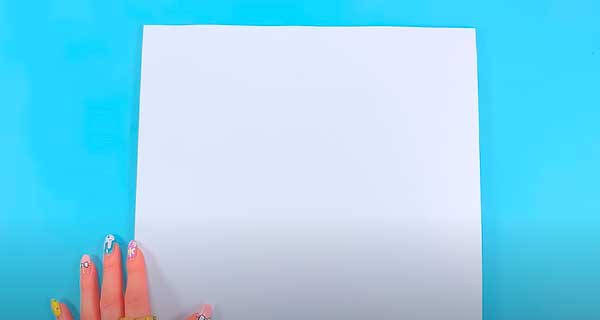
1. Paste a square of corrugated cardboard 29 * 26 cm with white paper.
2. Paste two rectangles 26 * 6 cm as follows: glue the top with pink paper, and the bottom with white.
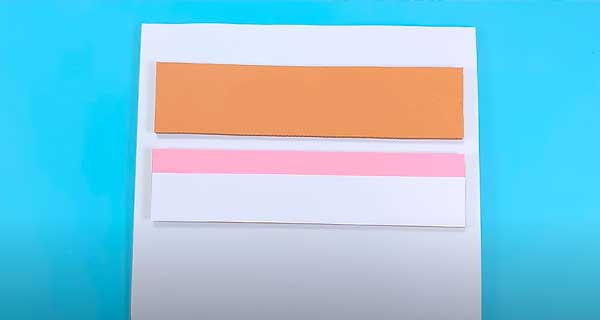
3. In the same way, paste over a rectangle 28 * 6 cm.
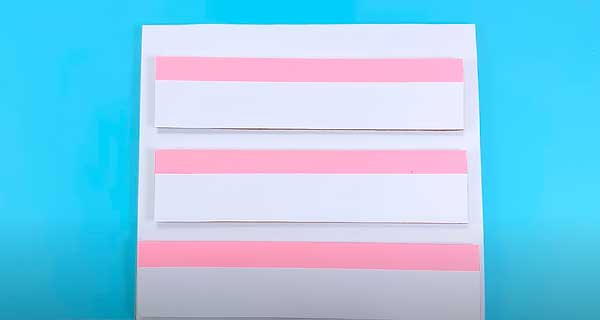
4. Glue the rectangles to the square on three sides, forming a box.
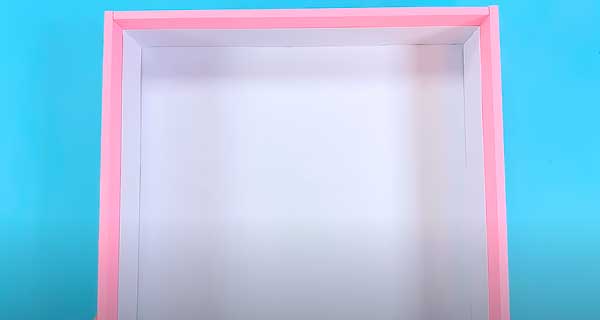
5. Cover the sides with pink paper.
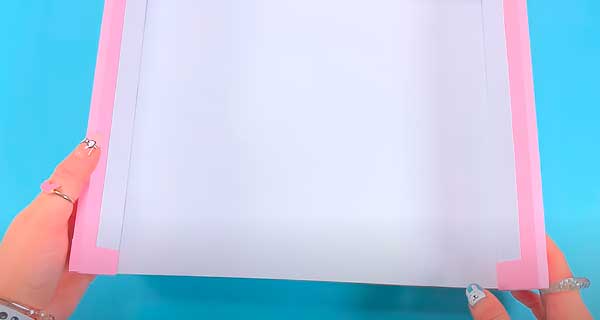
6. Paste the outer walls of the box with colored or decorative paper.
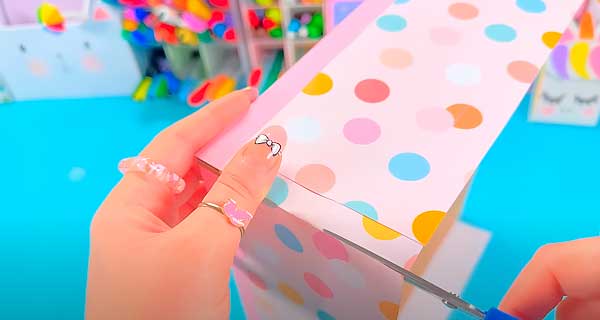
7. Turn the box over and cover the bottom side with white paper.
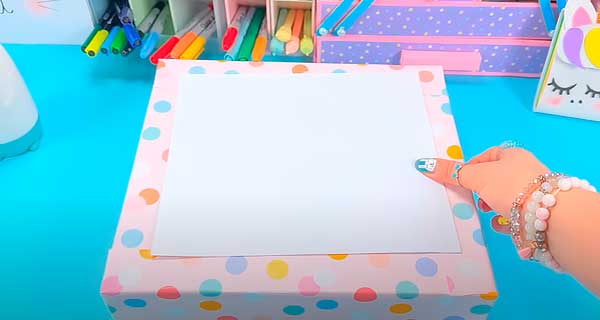
8. Cut out the following details from corrugated cardboard and glue over with paper: a square 27.5 * 25 cm, two rectangles 2 * 25 cm, two rectangles 2 * 26.5 cm.
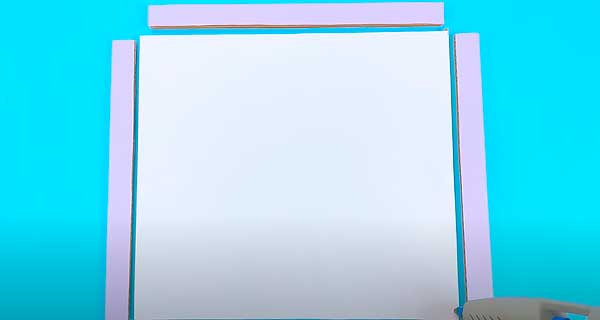
9. Glue all the details to form a box.
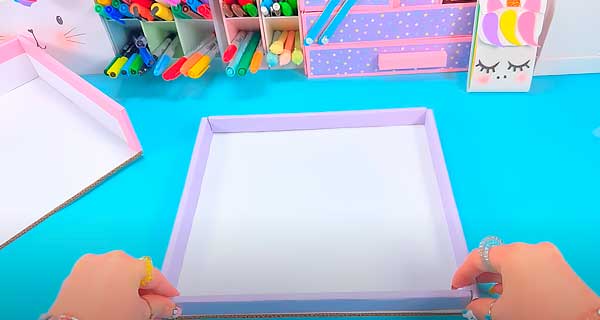
10. Paste the outer walls with colored paper.
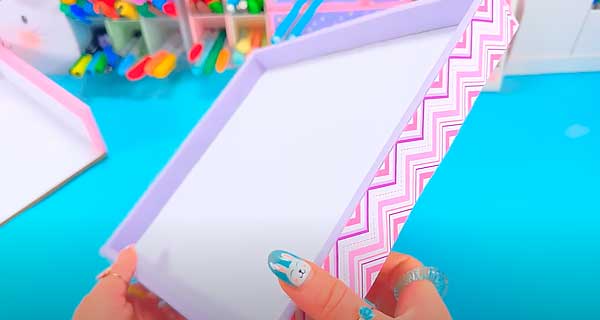
11. Turn the box over and cover the bottom side with white paper.
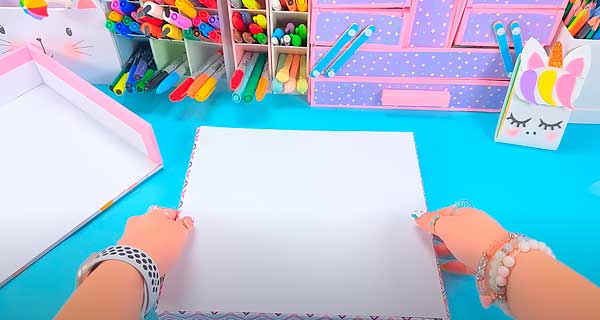
12. Place the second box inside the first one.
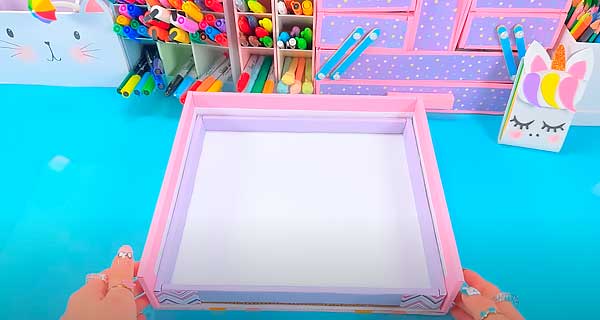
13. Cut out a square of 28 * 25.4 cm from corrugated cardboard and glue paper over it.
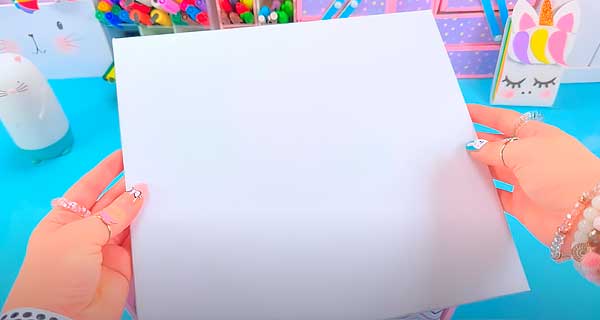
14. Position this piece above the second box.
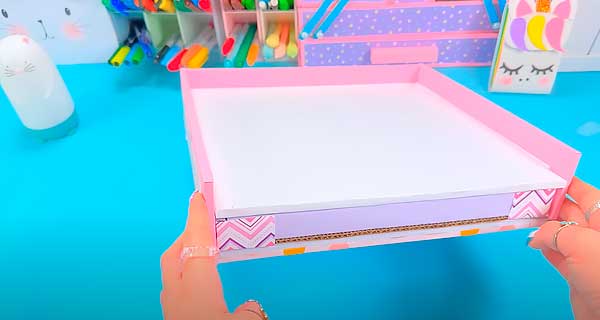
15. Measure 1 cm from the right and left edges.
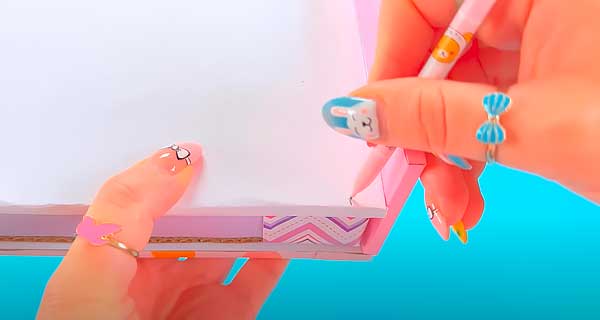
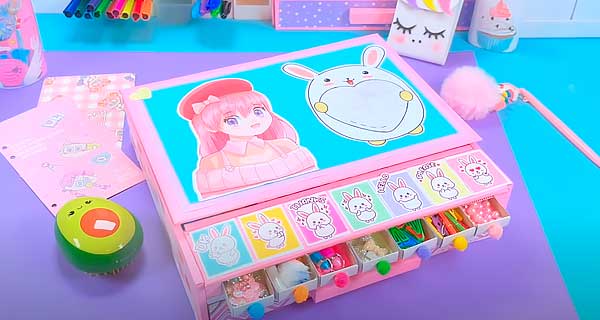
16. Glue matchboxes, stepping back from the edges 1 cm.
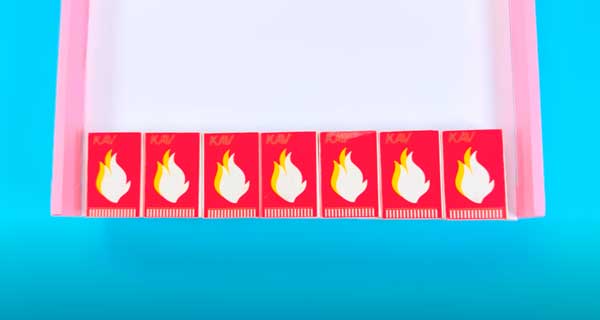
17. Paste a strip of corrugated cardboard 2 * 28 cm with pink paper.
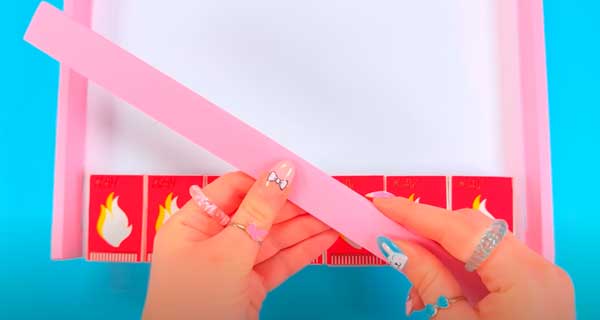
18. Glue it vertically next to the matchboxes.
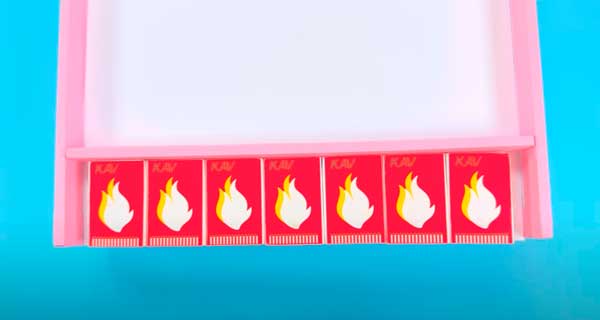
19. Place a 5.5*28 cm rectangle on top.
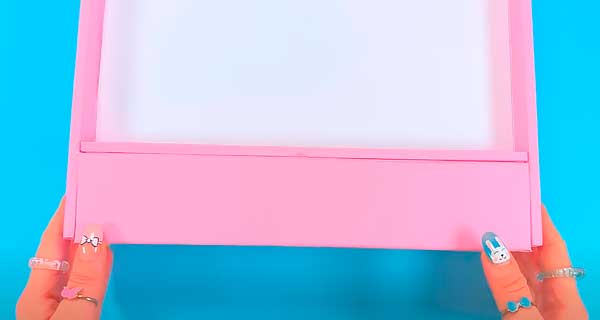
20. Seal the voids on the sides with small squares of corrugated cardboard pasted over with colored paper.
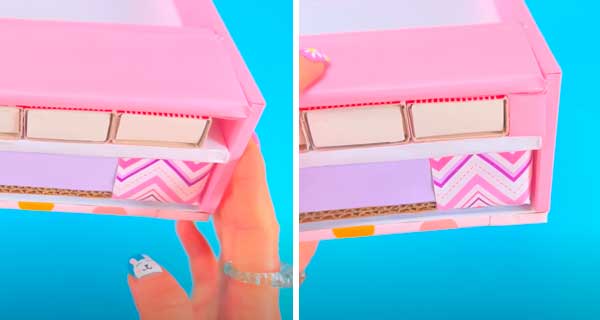
21. Glue a 3 x 27.8 cm corrugated board rectangle to the side of the bottom box.
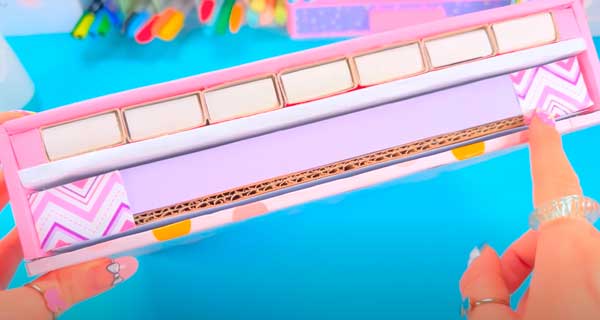
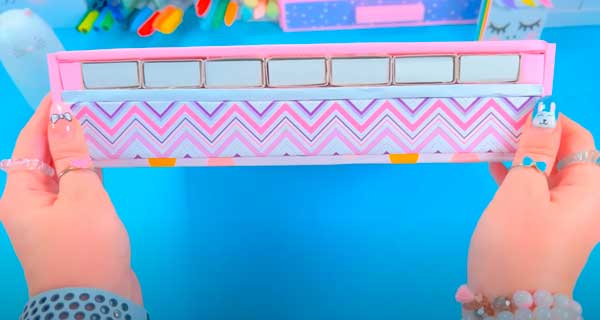
22. Glue two strips of corrugated cardboard 1 * 10 cm. Paste them with pink paper.
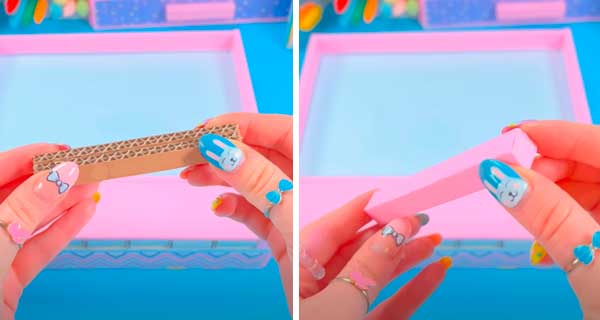
23. Glue to bottom drawer door. This will be the handle for opening this drawer.
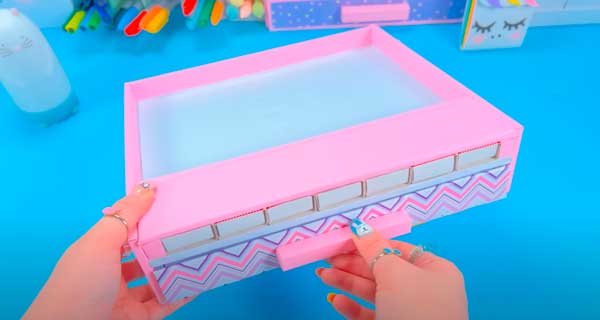
24. Glue pom-poms to matchboxes as handles.
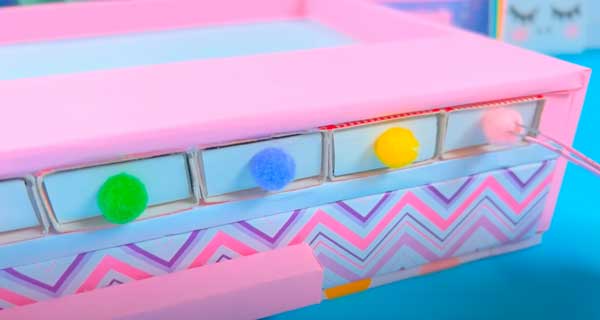
25. Take out all the boxes and glue the bottom of them with colored paper.
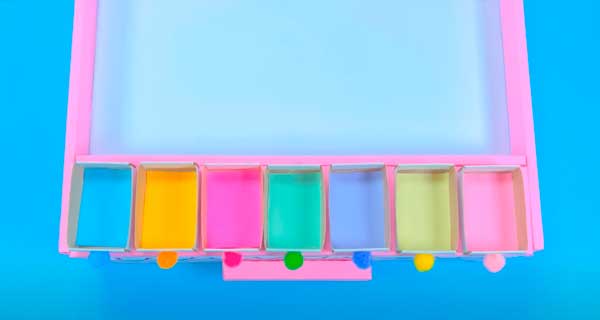
26. Put the boxes back.
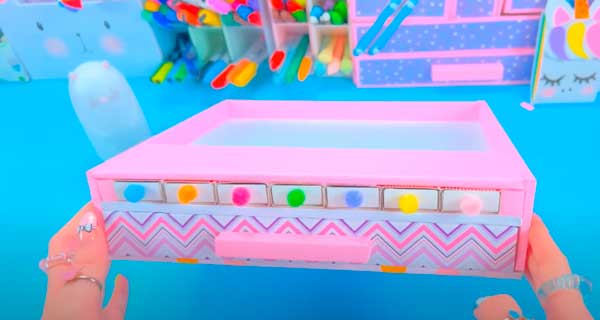
27. Cut out a square of 20.5 * 29 cm from corrugated cardboard and glue it with colored paper.
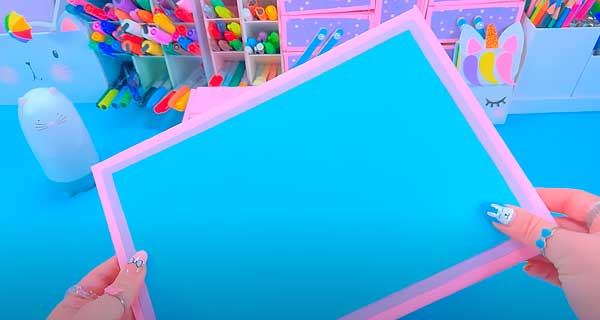
28. Glue two rectangles of colored paper to the back of the box.
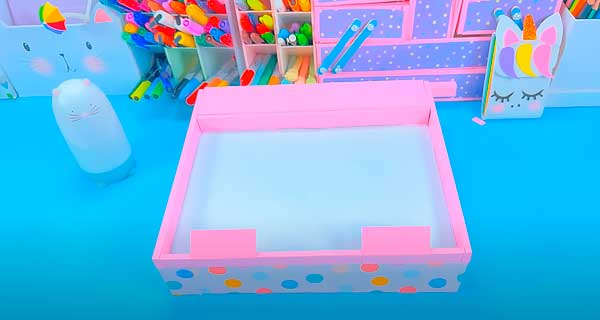
29. Apply glue to these rectangles and glue the square prepared earlier.
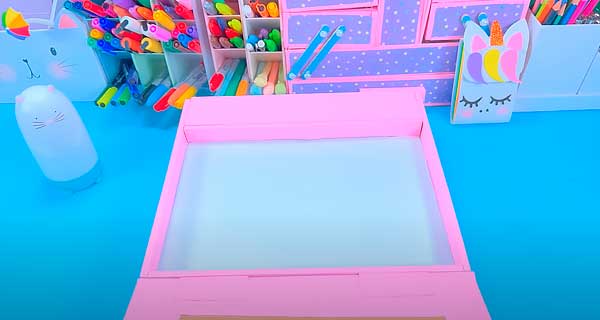
30. This will be the cover of the organizer. Close it.
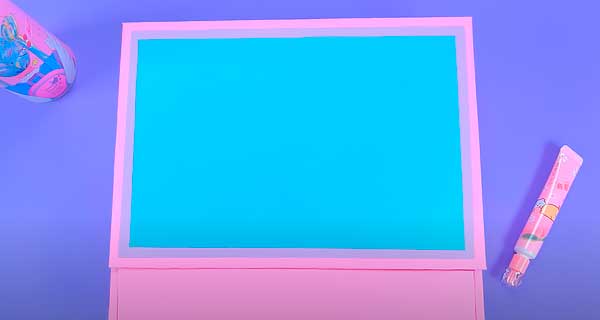
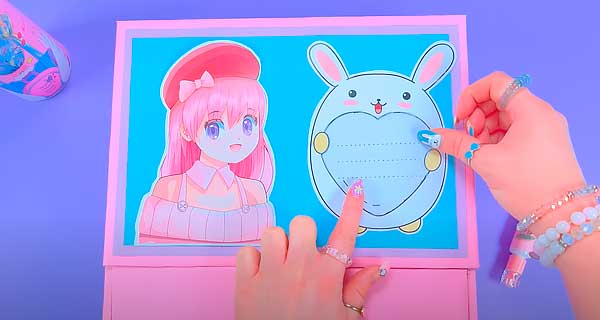
31. Glue to the front side of the picture as a decoration.
You can also make space for notes. Paste the place where the text will be with clear plastic from the packaging so that you can erase the text and write again.
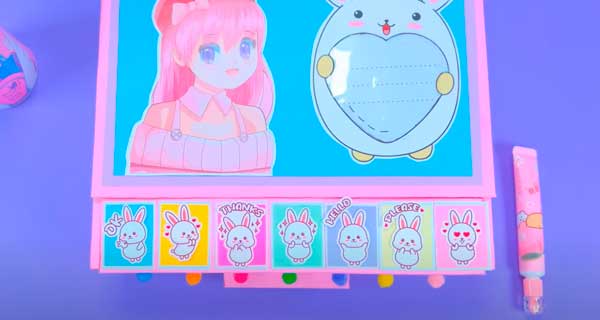
32. Paste the lower part of the front side with rectangles of colored paper, and you can stick stickers on them.
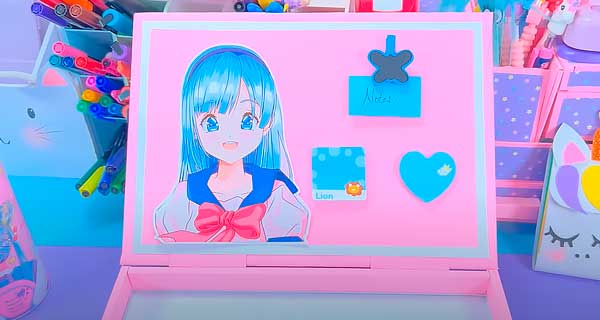
33. Also paste over the inside with pictures and sheets for notes.
34. Cut out a strip of 2 * 19.5 cm from corrugated cardboard and glue over colored paper.
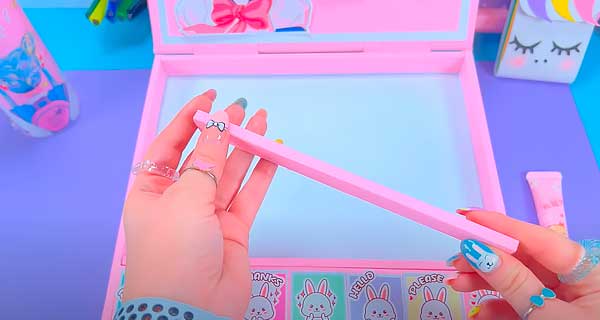
35. Insert it vertically as a separator.
36. Add the rest of the separators.
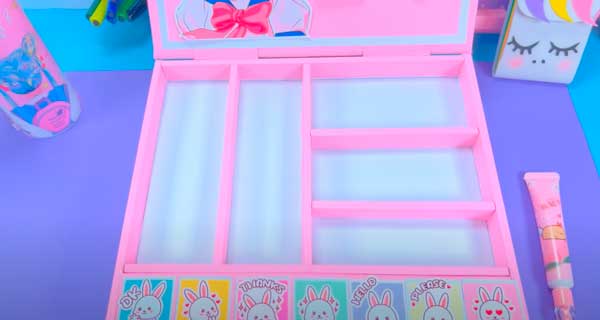
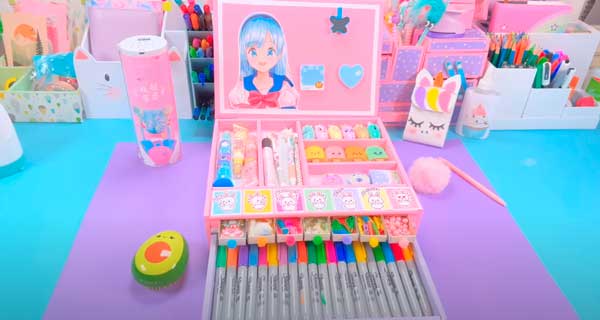
37. Place items in the top drawer.
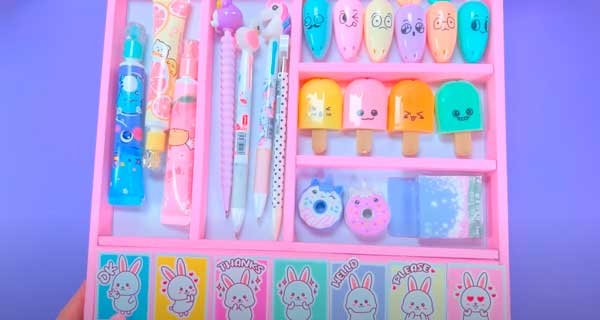
38. Place small items in the side drawers.
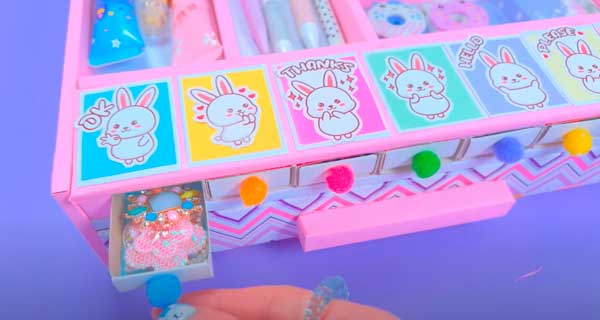
39. Place felt-tip pens, pens or pencils in the bottom drawer.
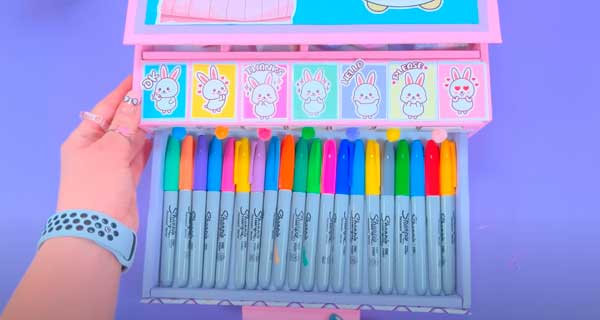
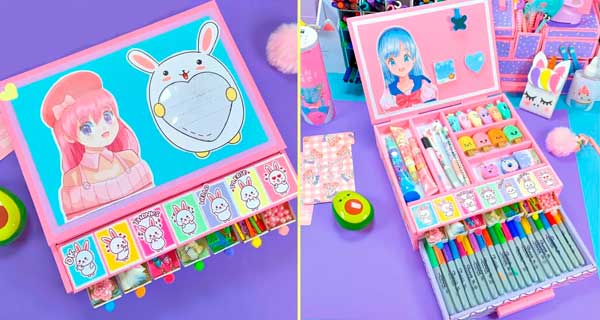
It turns out a very cute and roomy organizer!
