Materials
- Colored paper;
- Cardboard;
- Scissors;
- Glue.
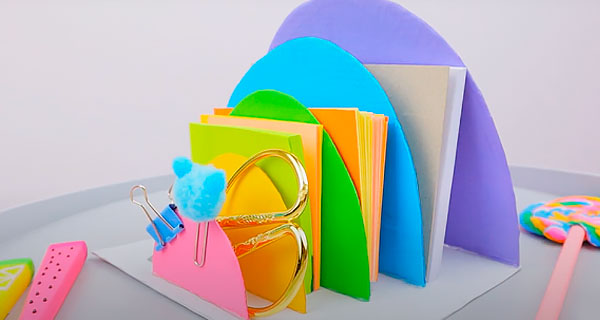
Steps:
1. Cut out a rectangle 19*15 cm out of cardboard.
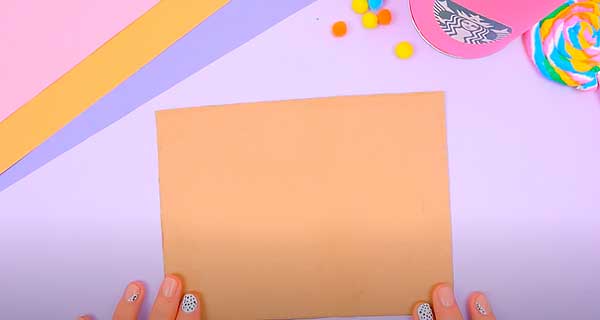
2. Prepare a rainbow template according to the size of the rectangle.

3. Trace the template onto the cardboard and cut it out.
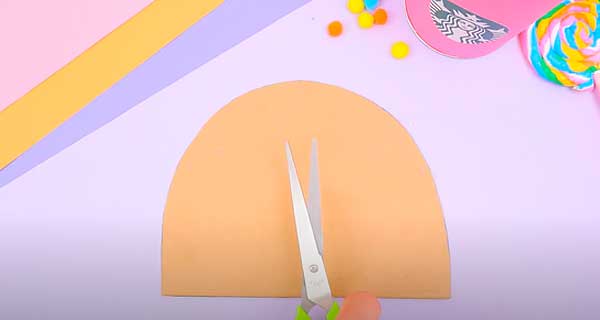
4. Cut off the top layer of the rainbow.
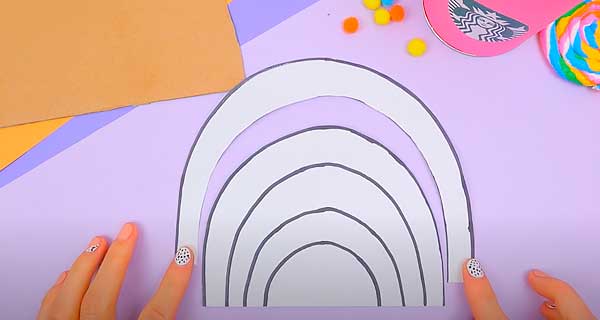
5. Trace the rest on another sheet of cardboard.

6. Cut out the cardboard.

7. Cut off the top layer of the rainbow again.

8. Trace the rest on cardboard and cut it out.

9. Cut off the next rainbow layer in the same way.
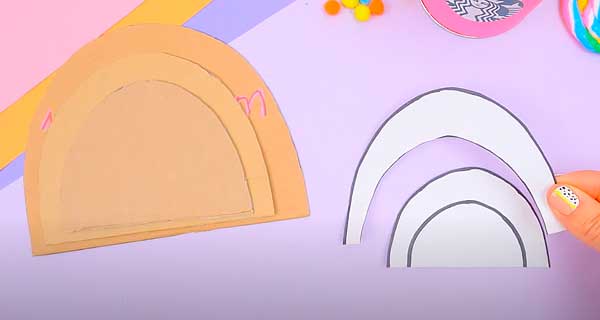
10. Trace the rest on cardboard and cut it out.
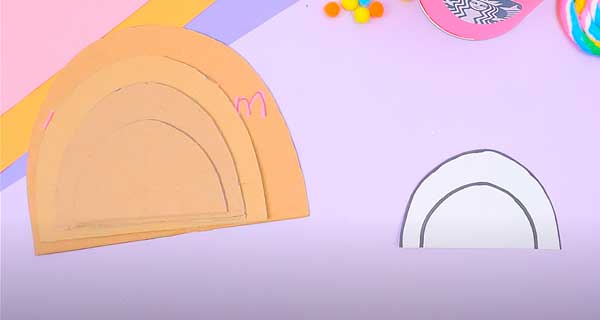
11. Cut off the last layer of the rainbow.
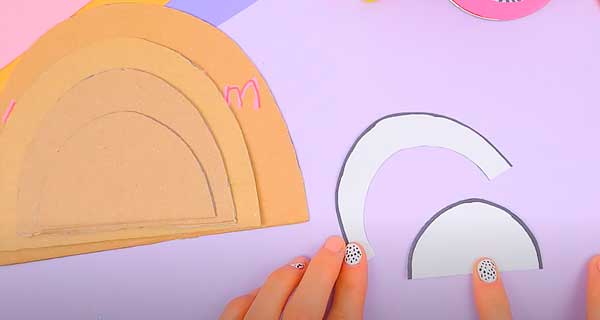
12. Trace the rest on cardboard and cut it out. You now have 5 rainbow elements.
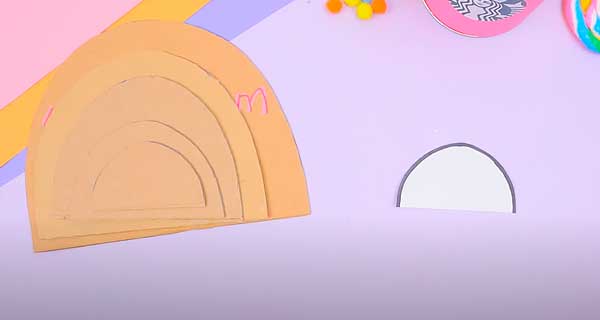
13. Take one of the details and glue it with colored paper.
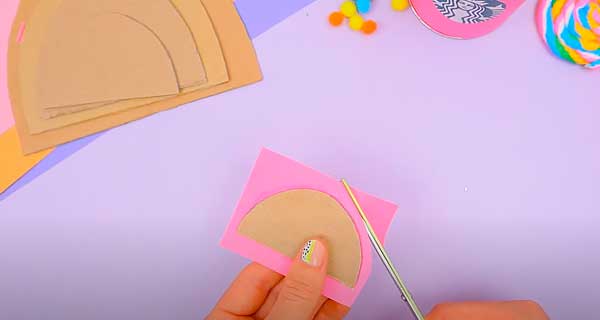
14. Cut off excess paper, leaving a small margin. Make cuts.
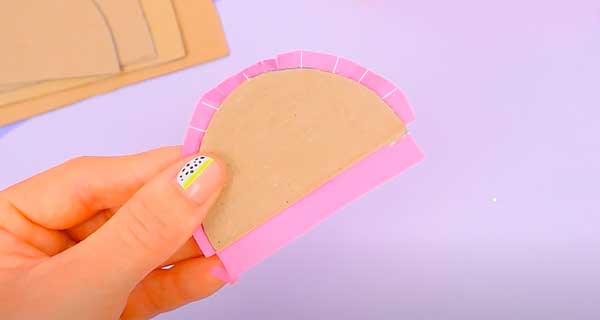
15. Apply glue to the cardboard and glue the rest of the paper, sealing the side of the cardboard.
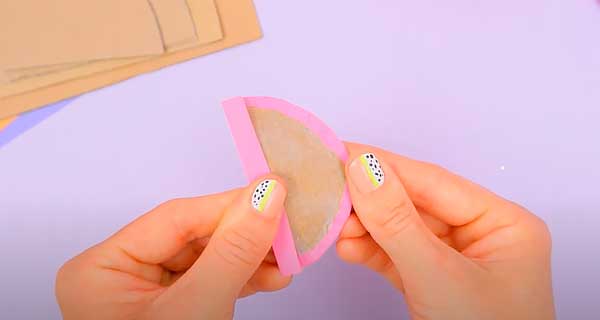
16. Glue the cardboard on top with a piece of colored paper of the same size.
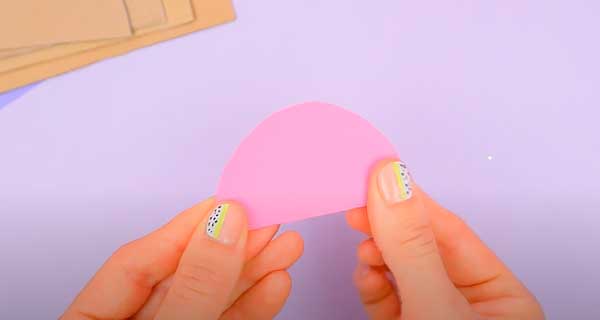
17. Glue over all the elements of the rainbow in this way.

18. Cut out a rectangle 19*15 cm out of cardboard.

19. Paste it with white paper.
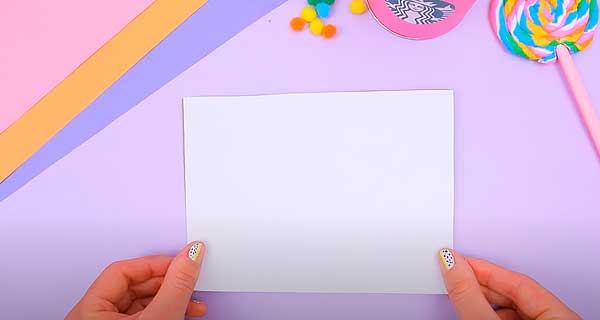
20. Glue the rainbow layers to the cardboard. Let’s start with the smallest element. Apply strong glue to one side.
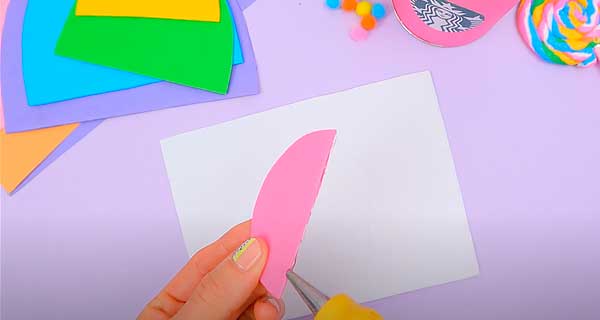
21. Press it firmly against the cardboard.
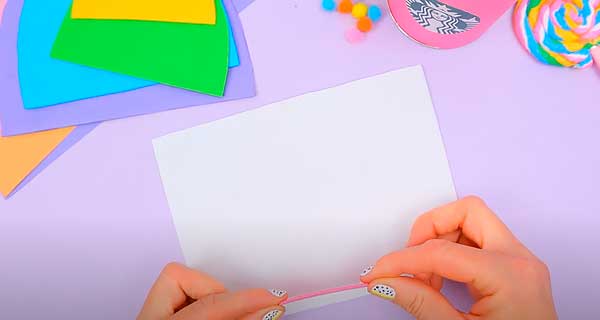
22. Glue all the details in this way.

The organizer is ready! Bright, beautiful, and most importantly practical and roomy!


