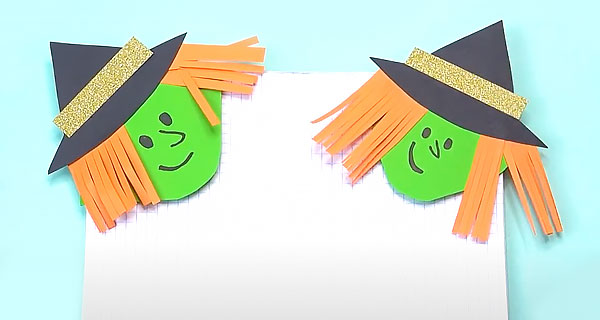
How To Make Witch Bookmarks

Components

  • Colored paper;
  • Pencil;
  • Markers;
  • Scissors;
  • Ruler;
  • Sequins;
  • Glue.

How To Make Witch Bookmarks, School Supplies, School Supply, DIY, Bookmarks

Preparation:

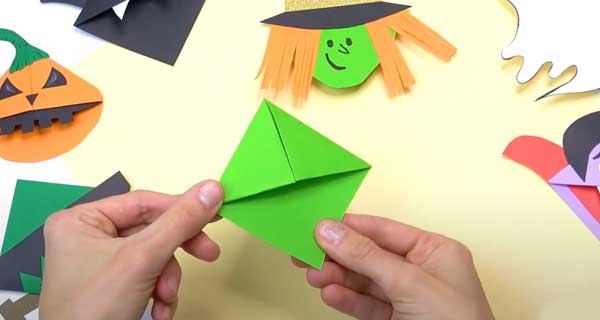
1. Prepare the green paper base for the bookmark. You can see how to make it in the instructions for the pumpkin bookmark.
How To Make Witch Bookmarks, School Supplies, School Supply, DIY, Bookmarks

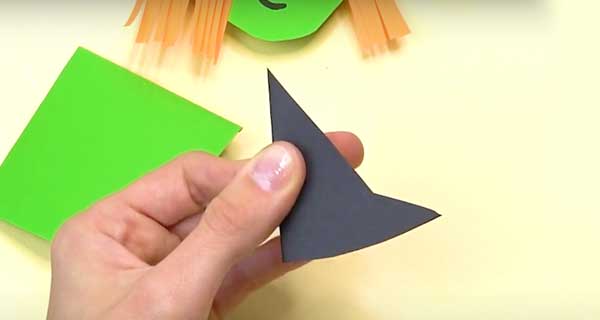
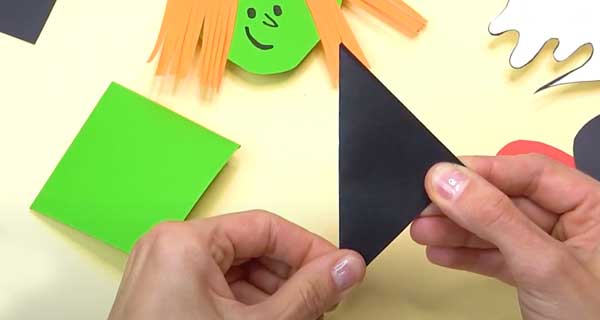
2. Cut a 7 * 7 cm square out of black paper and fold it in half into a triangle.
How To Make Witch Bookmarks, School Supplies, School Supply, DIY, Bookmarks

3. Cut out the half of the hat.

How To Make Witch Bookmarks, School Supplies, School Supply, DIY, Bookmarks

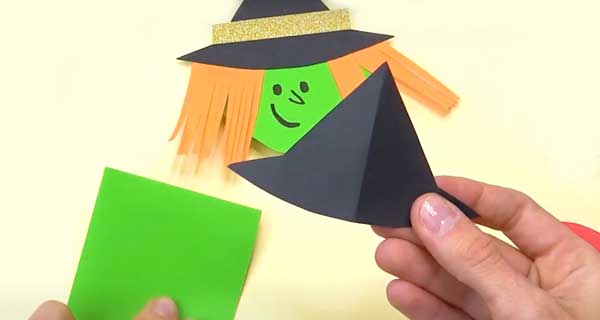
4. Spread it out.

How To Make Witch Bookmarks, School Supplies, School Supply, DIY, Bookmarks

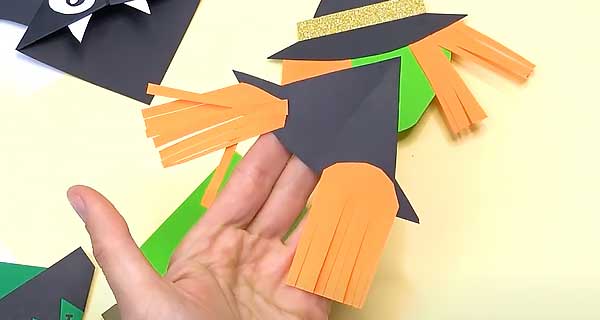
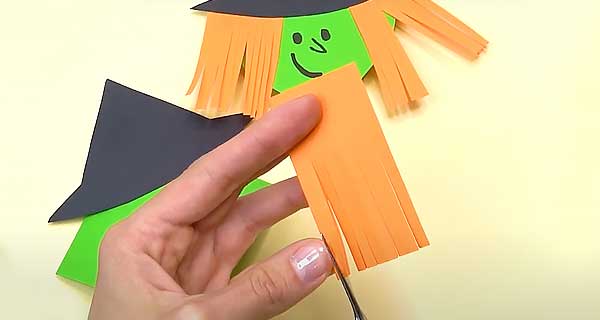
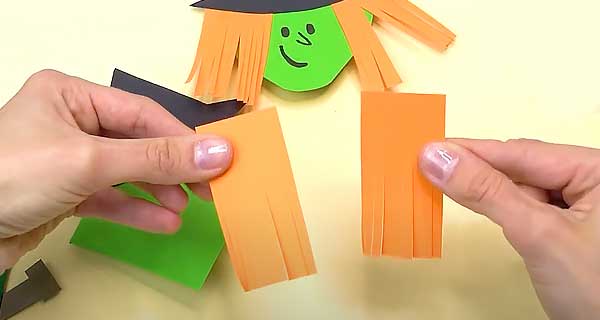
5. Cut a 6 * 7 cm rectangle out of orange paper. Fold it in half and cut the bottom into thin strips.
How To Make Witch Bookmarks, School Supplies, School Supply, DIY, Bookmarks

6. Cut off the fold line. You now have two parts. This is the hair of a witch.
How To Make Witch Bookmarks, School Supplies, School Supply, DIY, Bookmarks

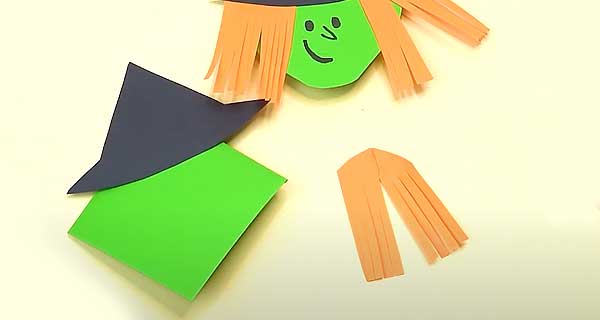
7. Let’s give the hair a slight carelessness. Fold the top with an accordion and cut off the excess on top.
How To Make Witch Bookmarks, School Supplies, School Supply, DIY, Bookmarks

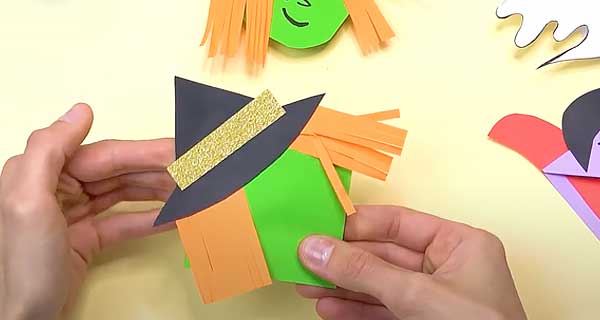
8. Glue the hair to the hat.

How To Make Witch Bookmarks, School Supplies, School Supply, DIY, Bookmarks

9. Glue a 1 * 8 cm strip sprinkled with sequins to the hat (you can replace it with yellow paper).

10. Glue the hat to the green blank.
How To Make Witch Bookmarks, School Supplies, School Supply, DIY, Bookmarks

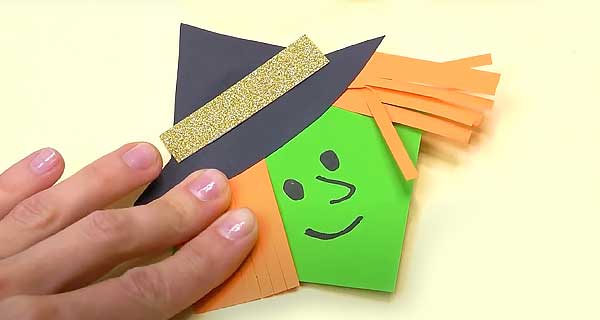
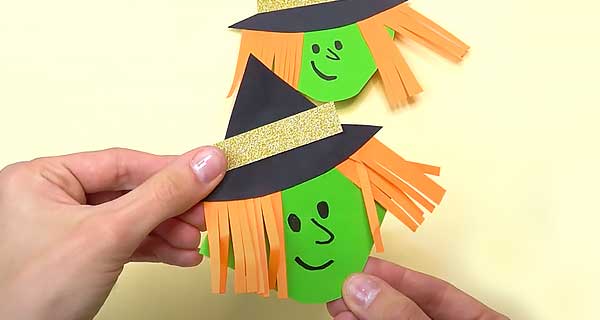
11. Draw the witch’s face first with a pencil, then circle it with a black pen or marker.
How To Make Witch Bookmarks, School Supplies, School Supply, DIY, Bookmarks

12. Round the bottom corner to form a round chin. Also, bend the hair slightly for realism. The witch is ready!
How To Make Witch Bookmarks, School Supplies, School Supply, DIY, Bookmarks

Leave a Reply

Your email address will not be published. Required fields are marked *

Back To Top